Chapter 7 - The Wing
Section 1 - Spars
Joining Main and Outboard Spars
Now that the main spar is completed we will mark the location of the ribs and mounting holes. The spar needs to be mounted rigidly in a position to allow us to measure and mark on it without worrying that it will move before we are done. I simply clamped it to my garage wall, securing it to my shelves. You want to be able to adjust it minutely and when you are happy that it is properly positioned, be able to clamp it securely in position. Using a laser level, level it wing tip to wing tip in the orientation that it will reside in the airplane. A vertical line is drawn in the very center of the spar and a horizontal line is drawn tip to tip as reference lines. Once these are drawn we will then mark the position of the ribs. On the horizontal level line, mark at fixed distances from the center vertical line. Then mark vertical lines at these points. The distances to be marked are as follows:
Fuselage attach point –17.5"
Inboard Rib A – 21"
Outboard Rib A –21.5"
Inboard Rib B –43.625"
Outboard Rib B - 44.125"
Inboard Rib C – 68.75"
Outboard Rib C – 69.25"
Inboard spar attach point - 76.25"
Outboard spar attach point – 93.875"
Spar end - 95.875
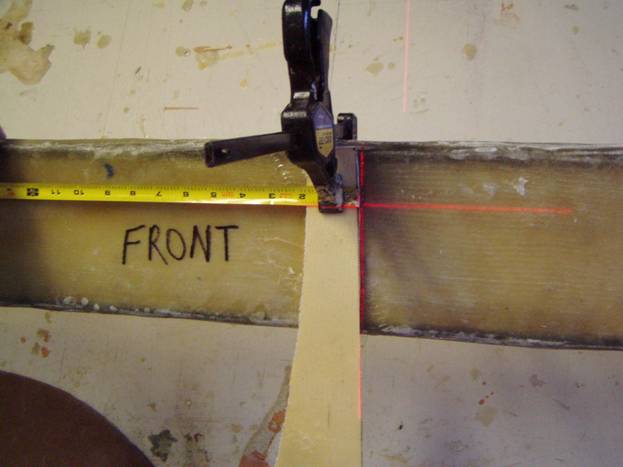
Laser Level Painting both references
In the above photo you can see the method I used to hold the end of the tape measure allowing me to mark all of the distances from the center.
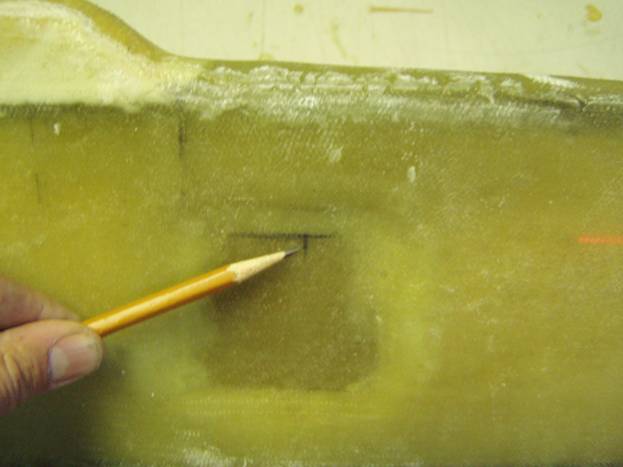
Vertical line for the fuselage attachment hole
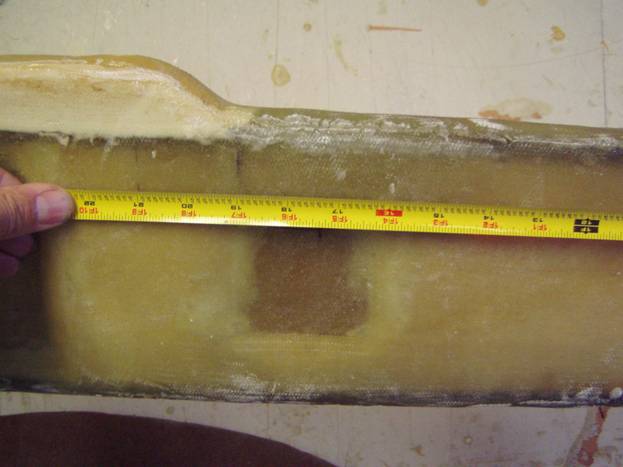
Measuring the distances from the center vertical line
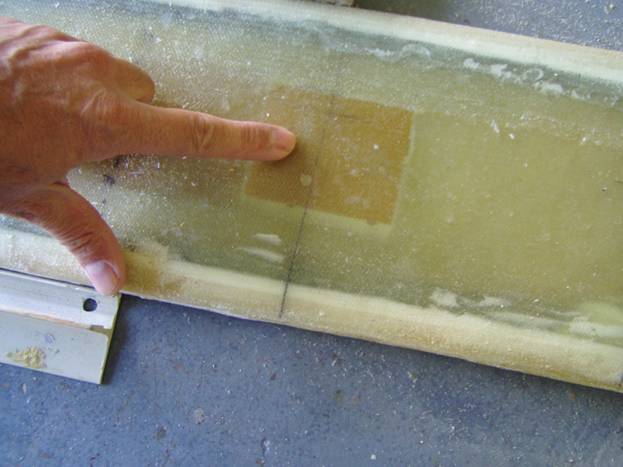
Vertical Line defining location of outboard spar attachment
The fuselage attach hole is centered on the spar up and down. Mark the center point of the vertical line for the fuselage attach point.
Trim the spar end tips at the vertical line drawn defining the spear end.
We are now ready to drill the holes in the spars. Double and triple check your measurements before you drilling your mounting holes. I used a drill press set on the garage floor. The drill press bed and the spar need to be supported in a flat level position so the holes are perfectly oriented. The spar is supported by the drill press bed and also out at the tips to get it level in all planes. Then the two center most holes are drilled in the spar. These should be roughly centered on the phenolic hard points. Start with a small pilot drill and increase in two steps to end up with a ½” hole. Next we will drill the holes to mount the outboard spars. The outboard spars already have a ¼” hole drilled in the proper location. These holes will be lined up with the vertical lines on the main spar. Use two straight edges to extend the top edge and bottom edge of the main spar outward and then center the outboard spar between them. This will locate the position of the spar. Remember that the outboard spars are not interchangeable, you built a right one and a left one. And there was a top and bottom. Insure you have the correct outboard spar and it is oriented properly.

Method of Properly positioning Outboard Spar
Clamp the outboard spar into position and again level the whole assembly on the drill press bed insuring the spar is level in all axis. Drill the ¼” hole. Use a spare ¼” drill to secure the outboard and main spar through the hole you just drilled. Then realign the assembly to drill the second hole. Finally open up the holes to ½” insuring that the assembly is properly oriented. Finally install the bushings and secure the outboard spars with temporary 3/8” bolts. Later we will create a nut plate and use AN hardware to secure the outboard spar, but we will be assembling and disassembling many times fisrt.
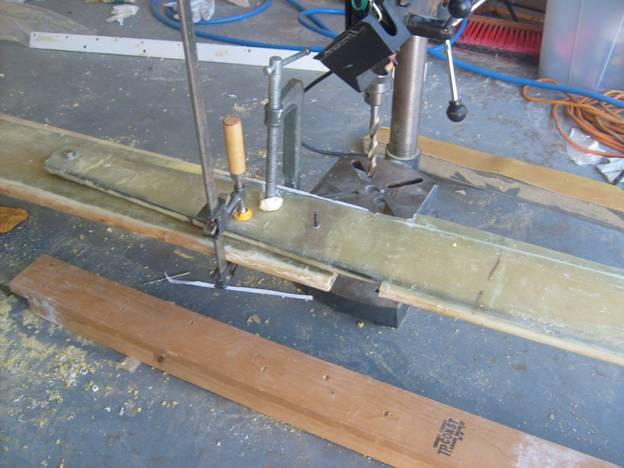
Drilling Holes
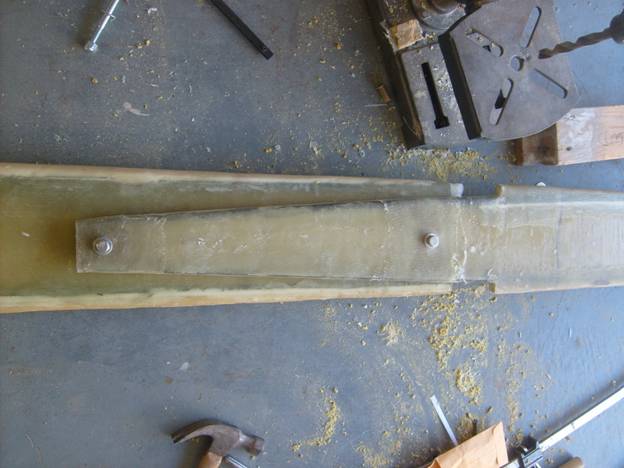
Use ordinary hardware 3/8” bolts temporarily.
Now that we have attached the outboard spars we want to mark the location of the ribs on the outboard spar as these are referenced to the center of the aircraft, or the center of the main spar. The E, F and G ribs need to be marked. The inboard edge of the E rib is 98.5 inches from the spar centerline, the inboard side of the F rib is 124.25 inches from the spar centerline, and the inboard side of the G rib, also the end of the outboard spar, is 147.875 inches from the spar centerline. Draw a line on both sides of the outboard spar (you should have already done this on the main spar) to mark the location of the ribs. There should end up being two lines, .5" apart that are vertical to the aircraft centerline to mark the location of the E and F ribs, and the end of the outboard spar should be trimmed, again vertical to the aircraft center plane, to accept the G rib
The main spars are now complete and we are ready to move on to the aft spars.