Chapter 7 - The Wing
Section 4 - Wing Internals
Wing Top Skin Flanges
Our next task to to create the flanges in each of the bays. There should already be flanges on the ribs, we only need to create the flanges against spar, the leading edge and the trailing edge. Let us start with the flanges against the spar. First let us cut out flanging sticks out of wood. Cut 2 lengths of 1” X 2” so they just fit inbetween the two ribs. Cover one side with a release agent like duct tape or packing tape.
Flange Stick
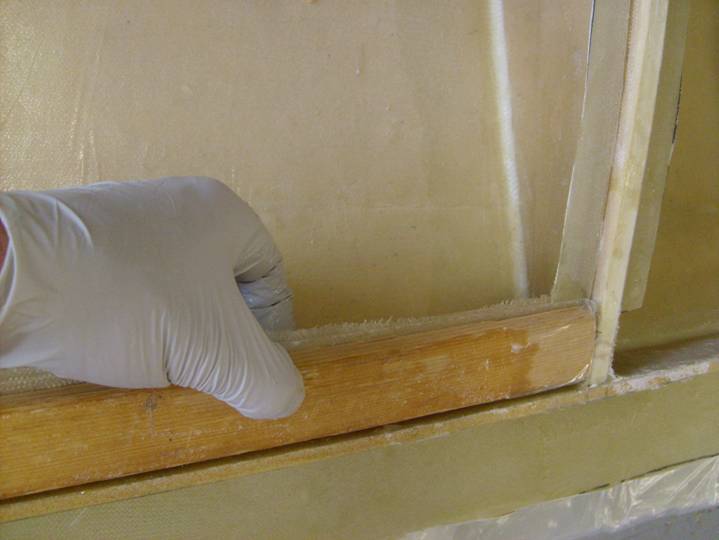
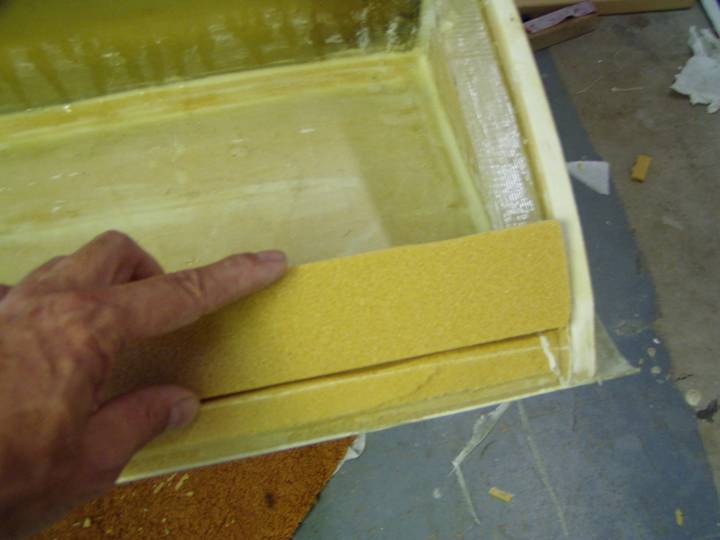
Remember how we added the triangular strip of foam between the bottom foam skin and the spar? You can see it at the top of the above photo. We need to have this same trangular piece against the top skin. Next, cut strips of ½” thick last-a-foam about ¾” wide the full width of the bay you are working on. Cut two strips, one for the forward side of the spar and one for the aft side of the spar. Trim and sand the squares to create triangles as shown in the photos below.
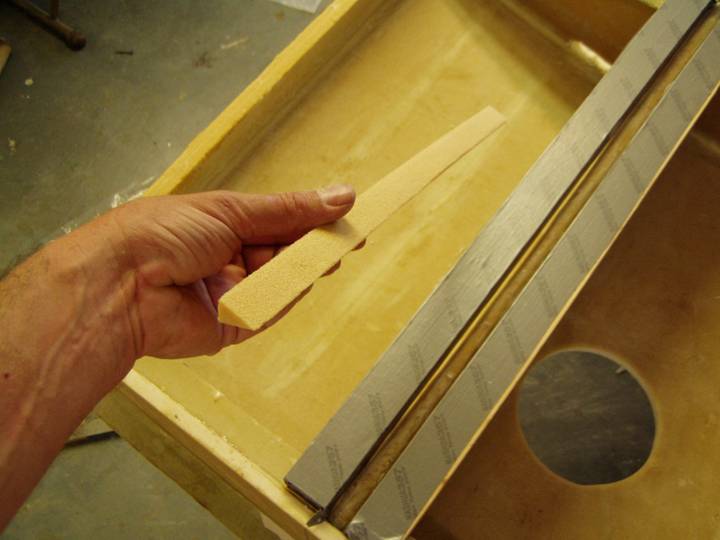
Foam Triangles
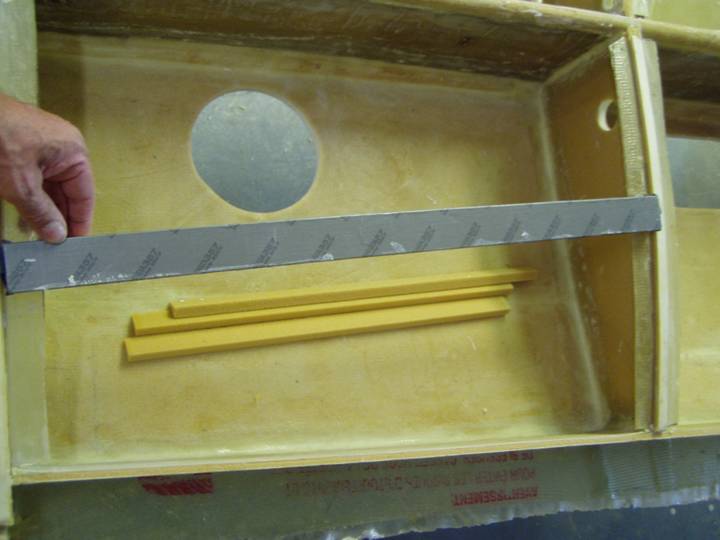
Use thick micro to attatch these foam strips to the spar so the longest edge faces up, shortest edge against the spar. Rest one of the two flanging sticks across the bay resting on the rib flanges, and use this to make sure the foam strips are straight and at the height of the flanges on the ribs.
Proper position of the foam strips
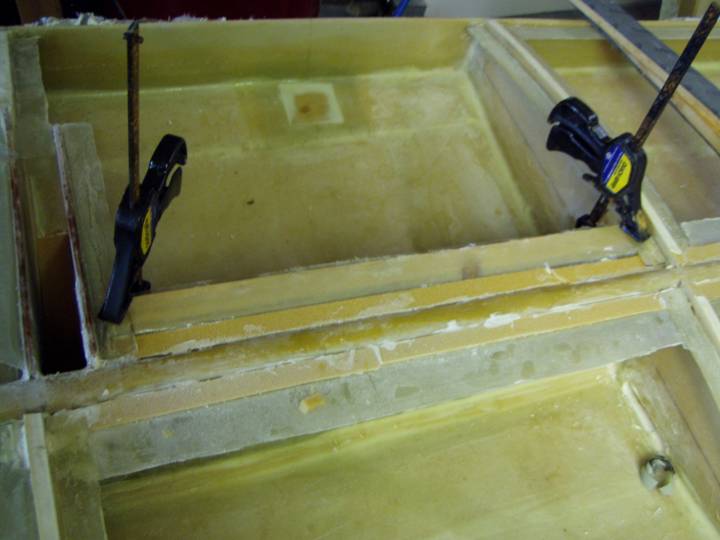
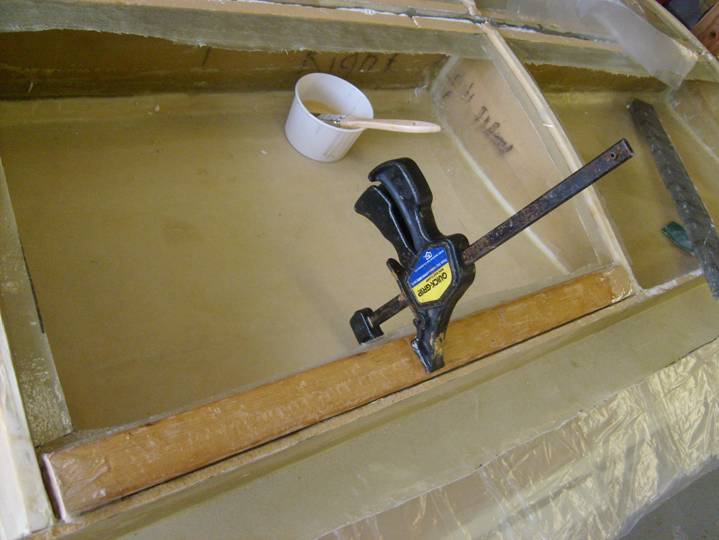
Go ahead and do two bays at a time as shown in the following photo. Strips of tape can be used to hole the triangular strips in place up against the flange sticks while the micro cures.
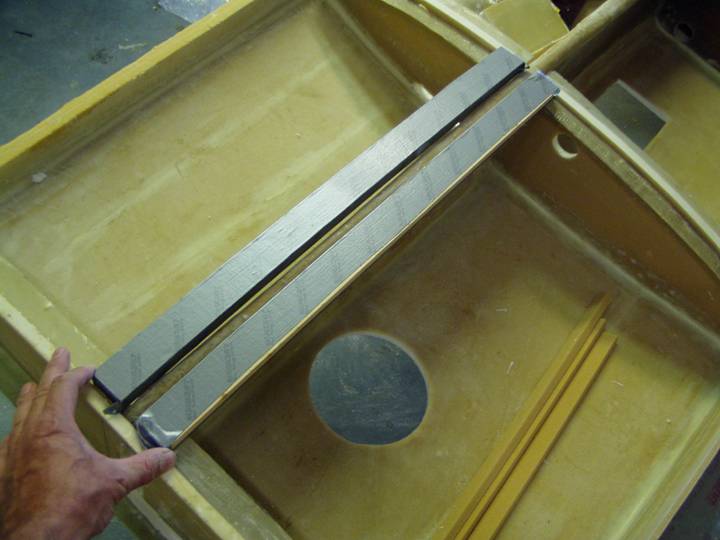
Flange sticks in position to support the foam strips
Let the triangular strips cure.
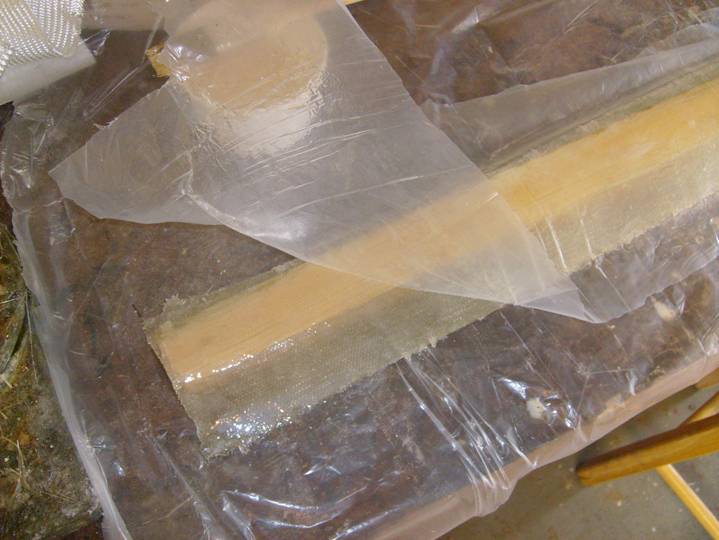
Next measure the width of the bay and cut two strips of BID this length, then long enough to give a 1.5” wide flange, cover the triangle and extend 2 inches down onto the spar. Place drop cloth over your work table. Cut a second piece of plastic slightly larger than the layup and mark the dimension on the bottom side of the plastic. Layup 2 BID strip on the plastic.
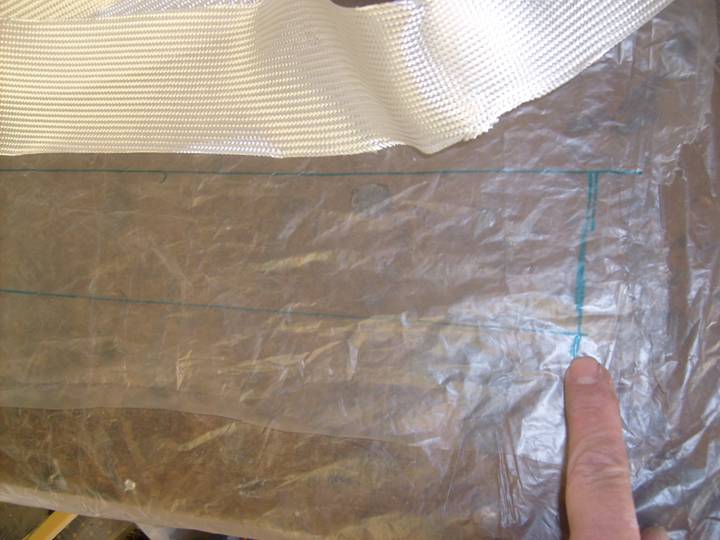
Plastic used to layup flange BID
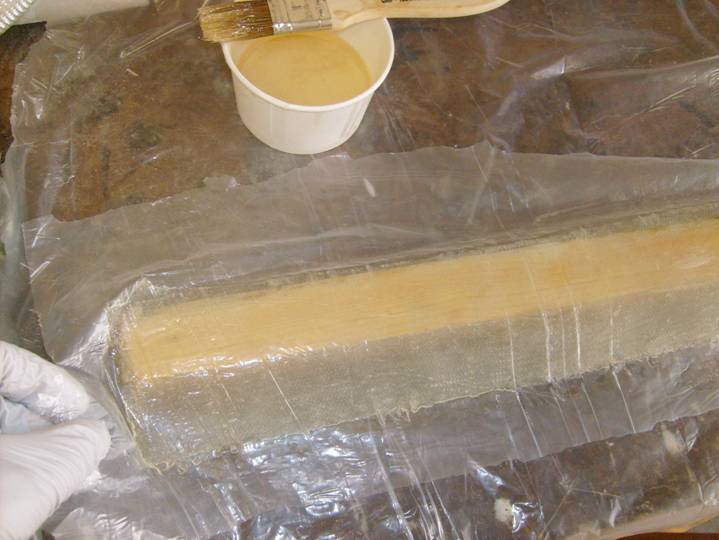
Mix up a tiny batch of slurry and slurry the bottom of the triangular foam strip in the bay. Use the stipple brush to paint a light coat of resin on the top couple of inches of the spar under the foam strip where the flange will adhere.
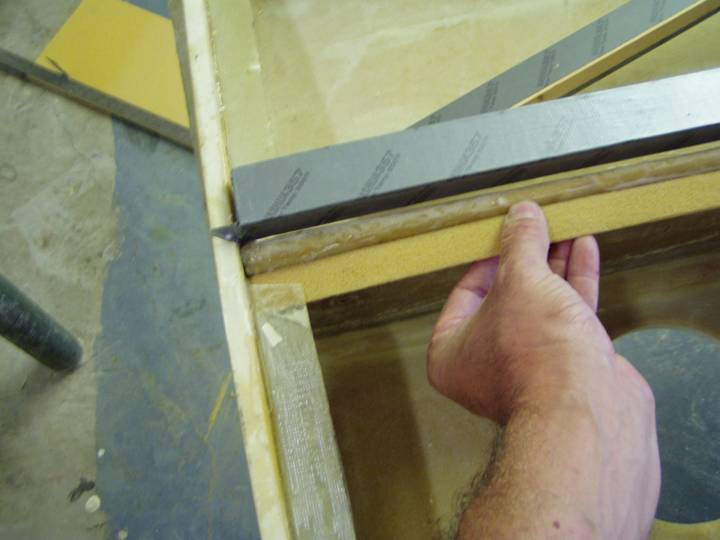
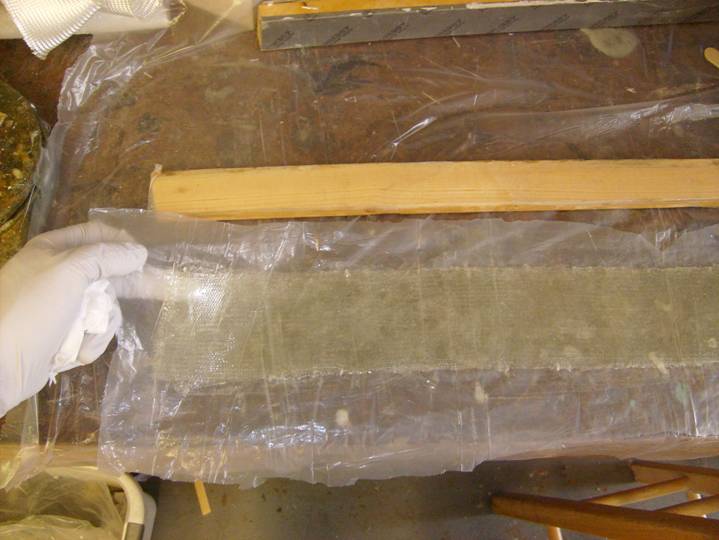
Now lift the plastic with the layup on it and lay it over one of the flanging sticks, then carefully remove the plastic. Carefully maneuver the flange stick with the BID in place into the bay and clamp it into place as shown below. Then use a stipple brush smooth out the BID against the triangular strip and the spar. This is a bit trickly. If the BID gets bunched up, just wad it up and toss it out. After a few upside down flanges you will be an expert.
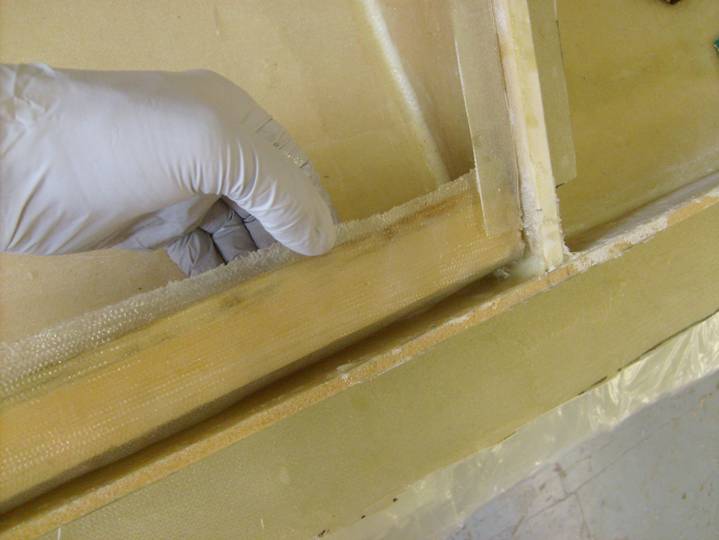
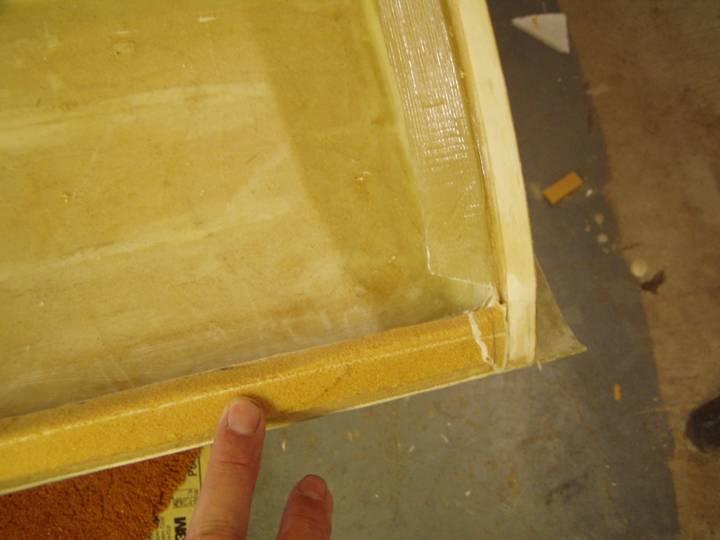
One flange complete, one to go
Pay particular attention to the flanges in the fuel bays, the flanges should completely adhere to the rib flanges. Remember we are sealing a fuel tank. When you are satisfied with the flange, clamp the second flanging stick on top of the first and sandwich the flange in between. Let cure. Good job, one down and a bunch more to go.
Next add the trailing edge flanges. They are the easiest of the top skin flanges. Repeat the process above to get 2 BID flange about 1.5” wide and extending 2 inches down on the rear spar. Remember the strips of BID will only be about 3.5” wide as there is not foam triangle against the rear spar. The following series of photos will guide you through the process of flanging the trailing edge.
Layup the 2 BID flange on plastic
Move the Flange onto the flange stick
Peel away the plastic and smooth layup
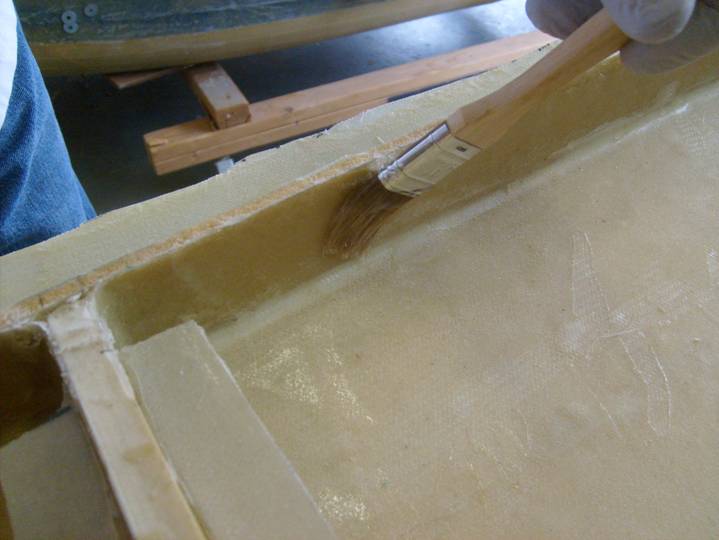
Clean and brush inside of Trailing edge
Position flange stick under rib flanges
Press into place and stipple BID against trainling Edge
Lay second Flange Stick over top
Lightly clamp
Lastly we will tackle the leading edge flange. We will not just make a flange against the leading edge. The curvature of the top wing skin is too great here to make the top skins follow the contour of the wing easily. Furthermore, the front bays of the inboard wing section are our fuel bays and we want a smaller panel that can be reliably bonded into place with absolutely no leaks.
Cut a 2” wide piece of ½” last-a-foam the width of the bay. This will rest against the existing leading edge foam. View the following photos for clarification.
Trim the leading edge at an angle so the 2” foam strip meets it somewhat flat. The following photos show how the leading edge foam is trimmed.
Leading edge foam trimmed at an angle to meet 2” foam Strip
Leading edge foam trimmed at an angle to meet 2” foam Strip
Place the 2” foam strip into place and insure it rides about 1/8” above the height of the ribs on each side.
2” foam leading edge strip
Tack this foam strip into position in several places with a 5 minute epoxy and flox mixture. Use small finishing nails pierced through the leading edge foam to hole it in place while the epoxy cures. Use a straight edge across the top of the foam to insure it is perfectly flat, rib to rib.
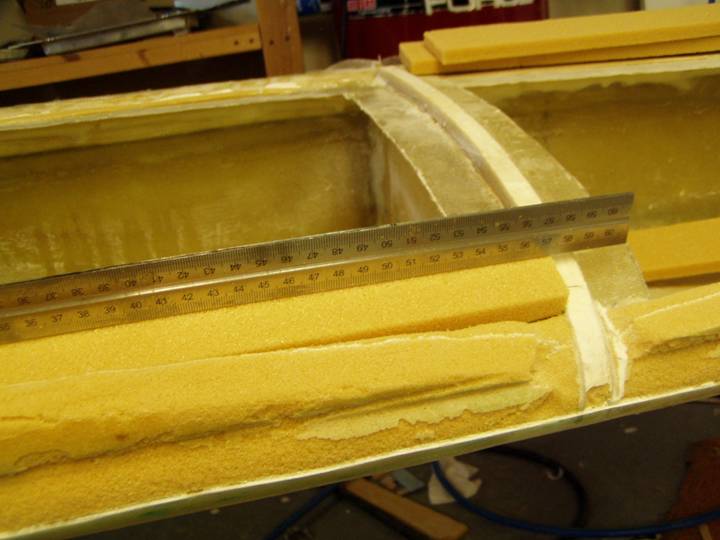
Straigt Edge to Insure the foam is flat Rib to Rib
With the leading edge flanges we have an extra step of placing BID than with the other flanges. We will cut 3” X 6” strips of BID to create a two layer joint inside the bay where the rib, leading edge and the new 2” foam strip meet. We are going to make a good seal up in the corners where these three parts meet. While this layup is still wet, add the 2 BID flange. Use the same technique as before with the exception that the BID strip will have to be wide enough to give a 1.5” flange, cover the 2” foam strip, cover the leading edge and extend an inch onto the glass on the bottom skin.
Pay extra attention to these flanges, you may have to stick your head into the bay to see that the BID is stippled correctly. Remember we are making a fuel tank.
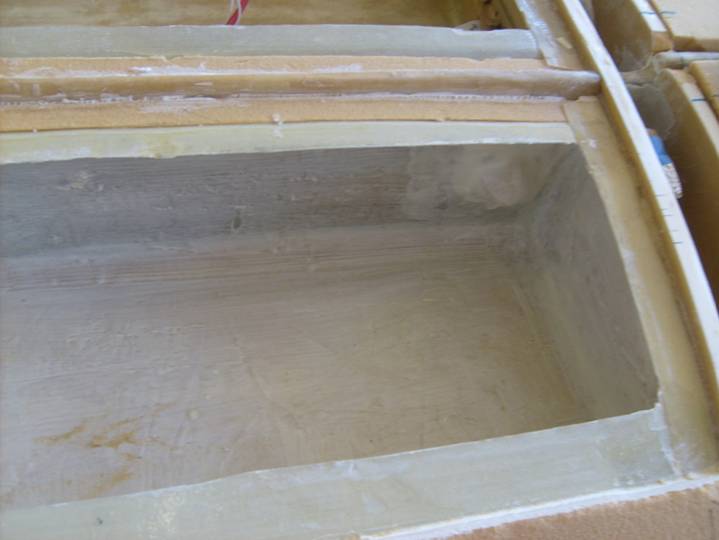
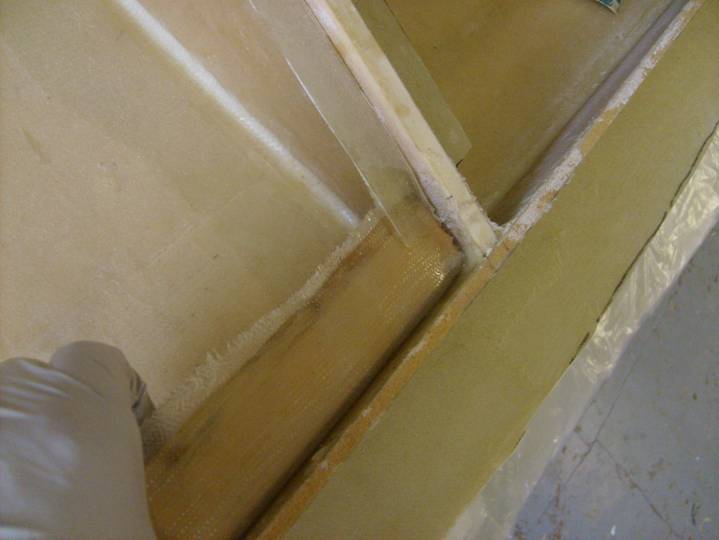
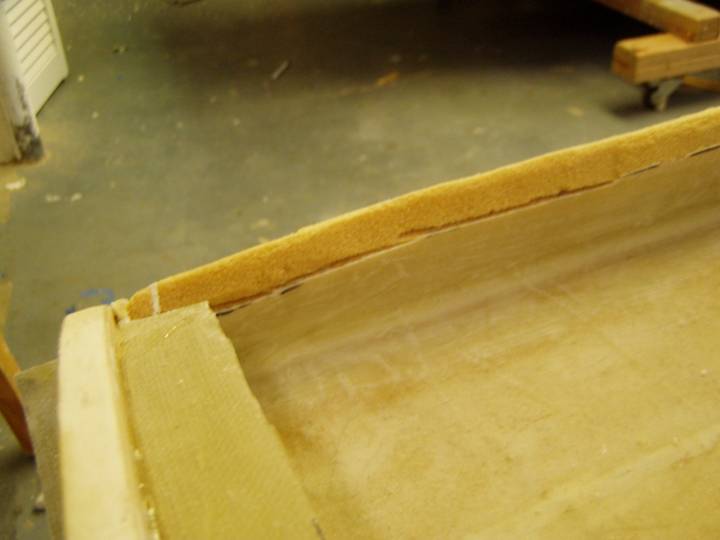
Finished set of Flanges
Once all of the flanges have cured, trim them to 1 to 1.5 inches in width.
Complete.