Chapter 7 - The Wing
Section 3 - Wing Assembly and Bottom Skin
Skinning Wing Bottom and Glassing Wing
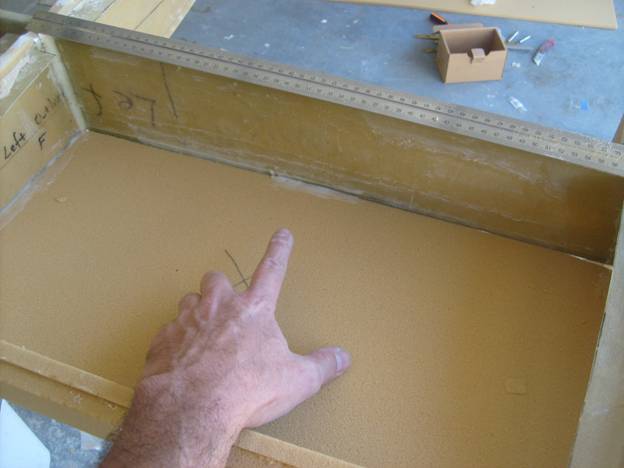
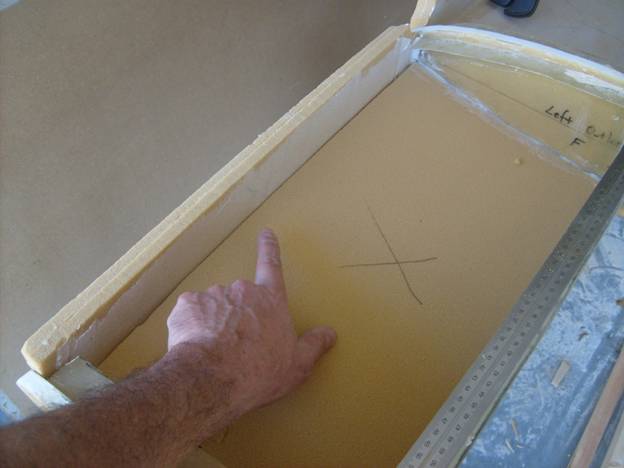
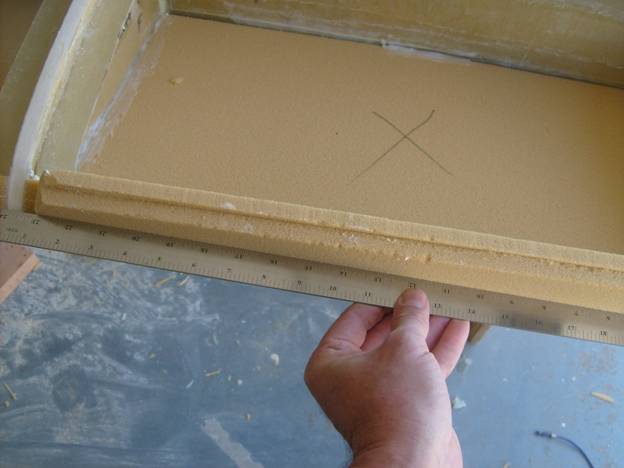
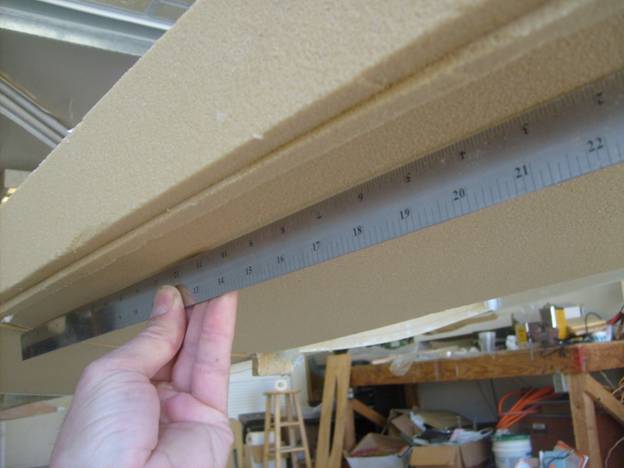
The first step will be to mark the ribs where the inside edge of the foam sheeting will come to. We use ½” sheet and will mark the rib 3/8” from the edge. The extra 1/8” will be sanded down even with the ribs to give us our correct wing shape. Mark lines on the bottom of the ribs, both sides 3/8” from the edge.
Next cut panels from out 24” X 96” foam to fill each of the bays. The foam panels should be snug so they can be help in place by their shape, but not so tight that they deform the ribs outward, or that they bow one way or the other. We will use 5 minute epoxy and flox in small dabs to hold the foam in place. Apply the dabs in small steps, letting each cure before moving on to the next. This way we will bend the foam to match the 3/8” mark on the ribs.
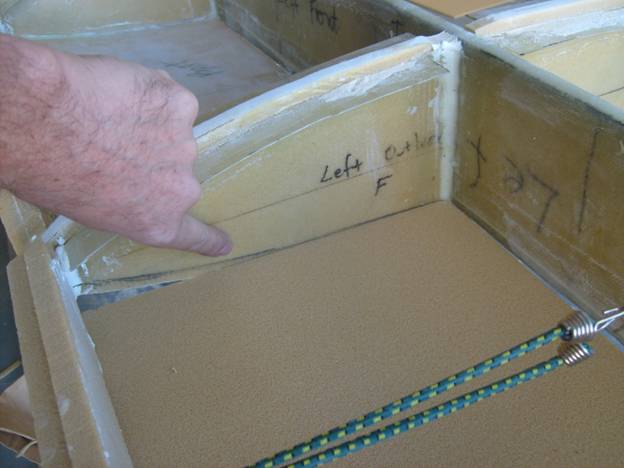
Initial foam placement
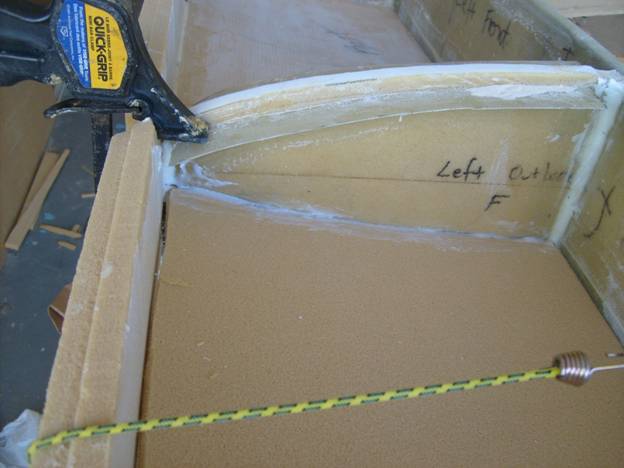
Use any method you can to hold the foam in place while you tack it into place.
The first dab of epoxy has been applied
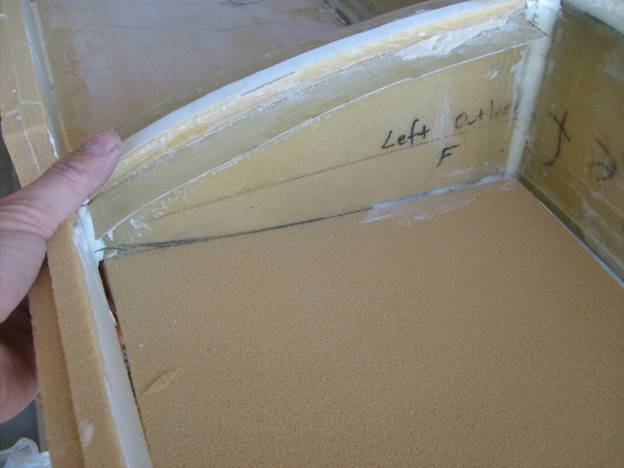
Bend the foam up to position the next segment
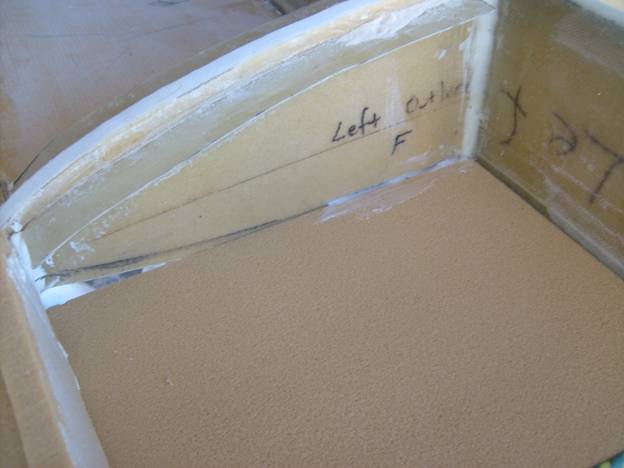
The foam is bent upward section by section, epoxying each in place until the entire panel is empoxied on both ribs.
The foam is now bonded along both ribs.
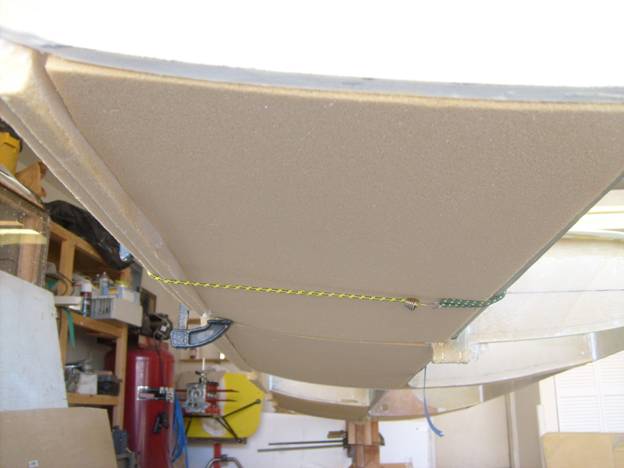
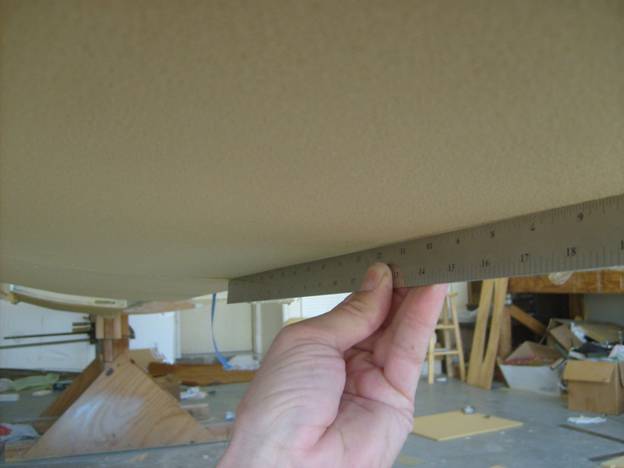
There should be approximately an 1/8 of an inch of foam sticking below the rib.
Use a level to insure the foam is straight between the ribs and then epoxy it to the spar.
Next epoxy the foam to the leading edge
Be sure to keep the leading edge straight
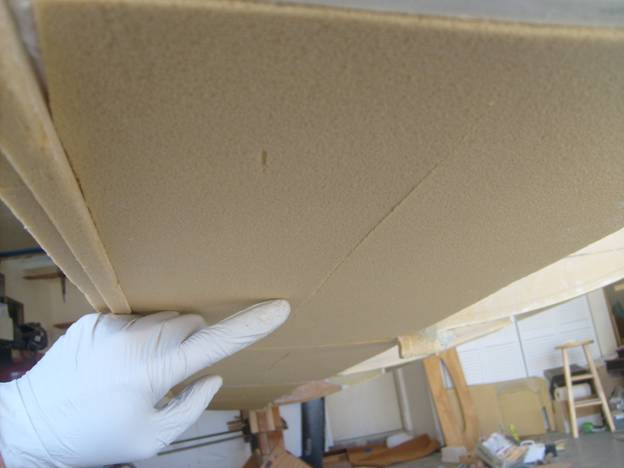
The foam should be straight between the ribs.
Check that the foam is straight between the ribs
If there are places where the foam bows up, slice the foam parallel to the spar, then epoxy the joint from the inside
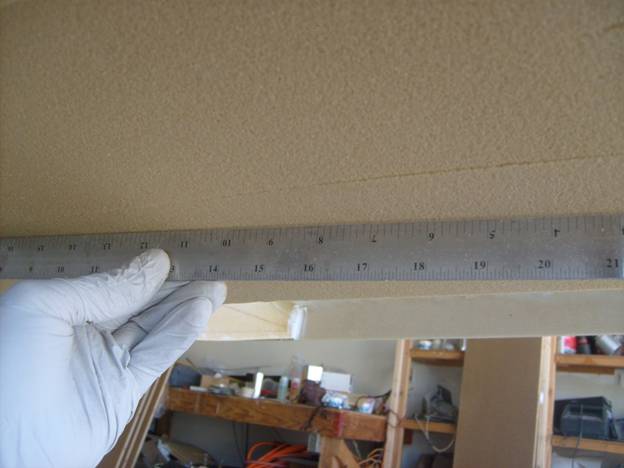
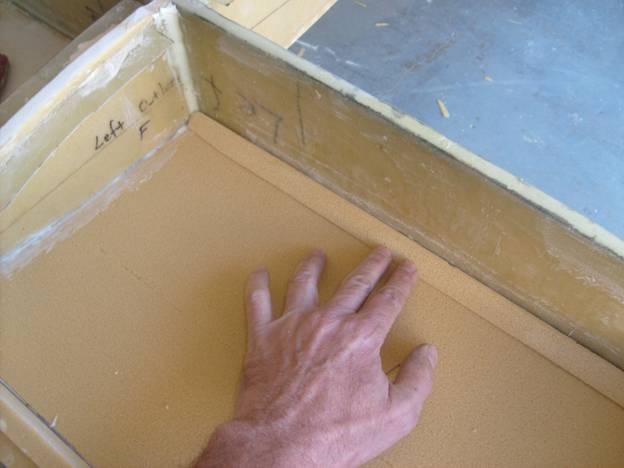
Insure the foam is straight between the ribs
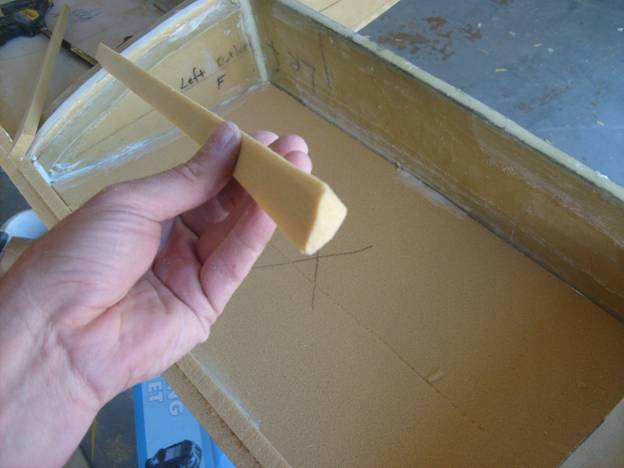
Cut triangles from foam and micro between foam skin and spar
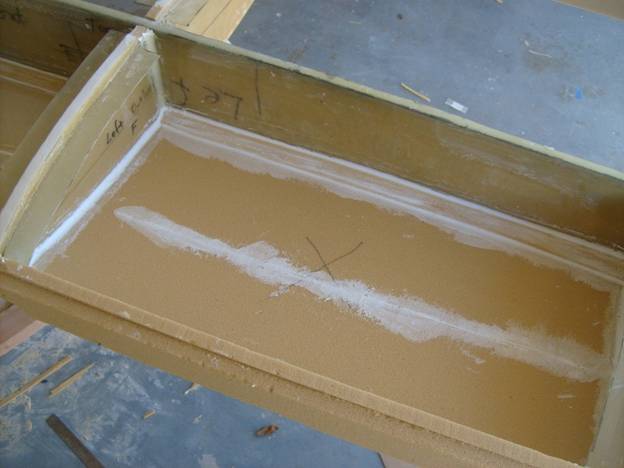
Create a 3/8” radius of micro all the way around the bay and micro in the foam triangle
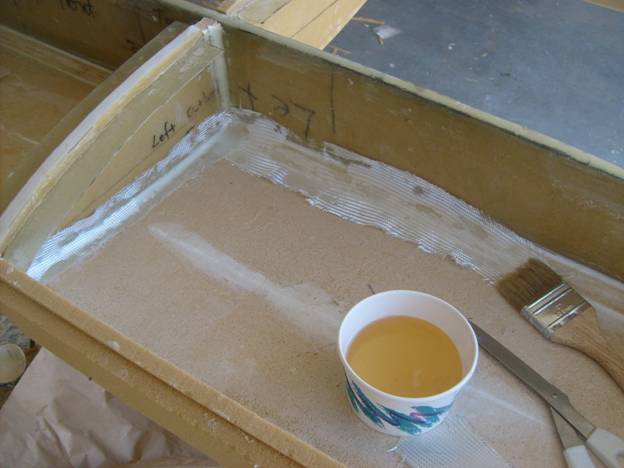
Layup one layer of BID all the way around the joints
Cut a piece of BID so it extends 1 ½” up the sides, all the way around the bay
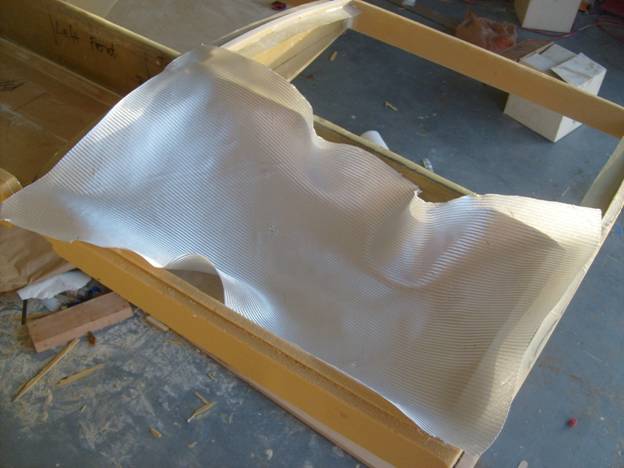
Lay in peel ply, expeccially in the bays that will be holding fuel.
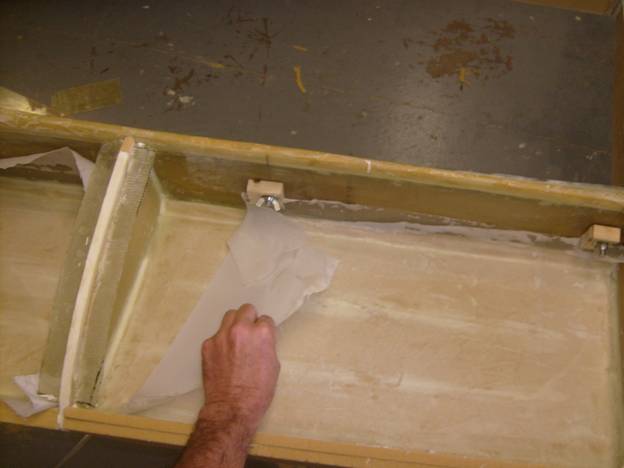
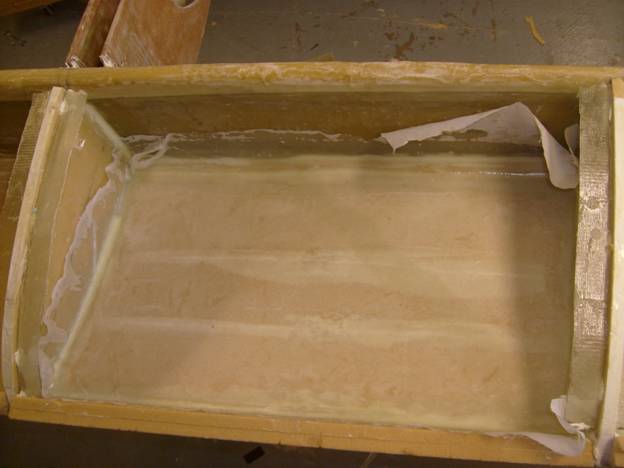
Remove the peel ply and admire your nice completed bay.
Repeat for all of the bays in the wing.
It is now time to flip the wing over and sand the foam to meet the correct wing contour.