Chapter 6 - Turtle Deck
Building the Frame
The turtle deck is the last major structure of the fuselage construction and employs techniques we have already mastered; two sheets of ¼ last-a-foam will be joined and glassed on one side, flexed into the proper shape and then glassed on the inside. Building the turtle deck consists of the following steps:
- Build a frame over the rear fuselage to capture the shape of the turtle deck.
- Remove it from the airplane and flip upside down.
- Create a flange along the top edge of the rear fuselage between the seat back and the horizontal stabilizer.
- Laminate one side of a large sheet of foam on a large flat surface.
- Insert the large foam laminate into the form.
- Glass the inside of the turtle deck.
- Install a couple of bulkheads into the turtle deck.
- Bond the turtle deck to the fuselage.
Form
The turtle deck is a simple cone section of increasing radius from the rear of the fuselage to meet up with the back of the canopy at the seat back. The point of the cone is approximately where the back of the vertical stab meets the back of the horizontal stabilizer. The shape of the turtle deck is defined by the path of a string when tied to this point and then traced over the rear canopy frame.
The canopy should be mounted to the fuselage as it will define the shape of the forward edge of the turtle deck. Tie a string to one of the elevator hinge eye bolts, wrap it around the opposite side of the vertical stab and then stretch it forward across the top of the canopy. Now slide the string back and forth over the rear edge of the canopy and envision the shape it traces in space. This is the outside surface of our turtle deck and the inside surface to be captured by our form.
Using sheet rock screws and fender washers, attach wooden blocks to the outside of the fuselage at the rear bulkhead, the baggage bulkhead and half way in between the two. The frame will be built on top of the rear fuselage attached to the blocks, then removed once the desired shape has been captured.
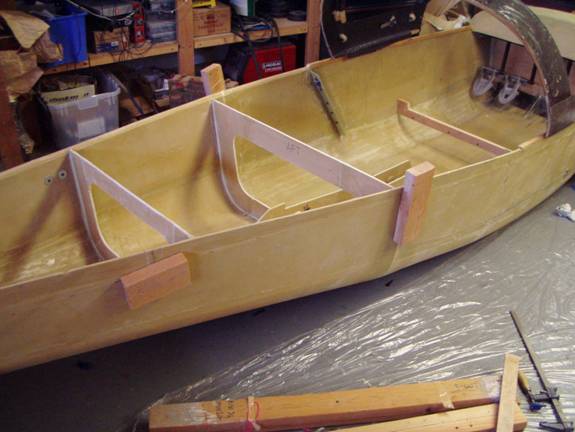
Wooden Blocks attached to fuselage to support frame
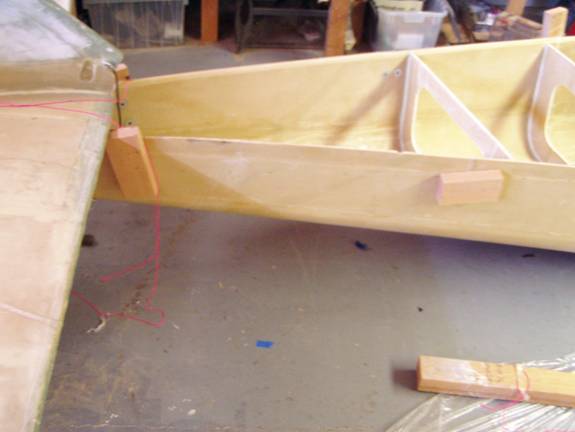
Wooden Blocks attached to fuselage to support frame
The frame is made of three sections, each defining the cross section of the turtle deck at its location. The first cross section is located at the baggage bulkhead, the rear most cross section is located at the rear bulkhead and the third cross section is located half way between the two.
The three frame members are made from sections of 2X2 and need to be just above the curve traced by our taunt string. I do not have universal dimensions for the frame as it will be dependent upon the shape and height of your canopy. Notice that the upright members of the frame are cut to length so that when the form is flipped over, they will act as legs.
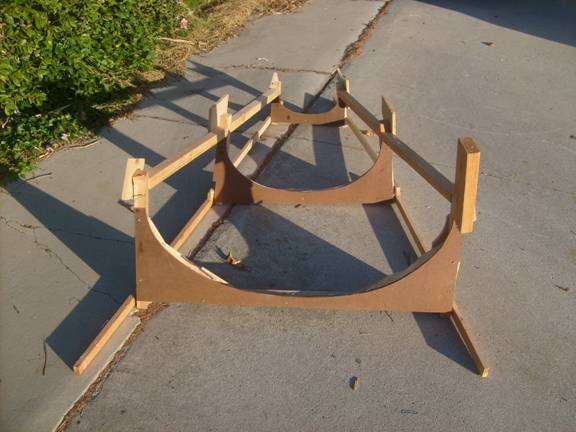
Turtle Deck Frame
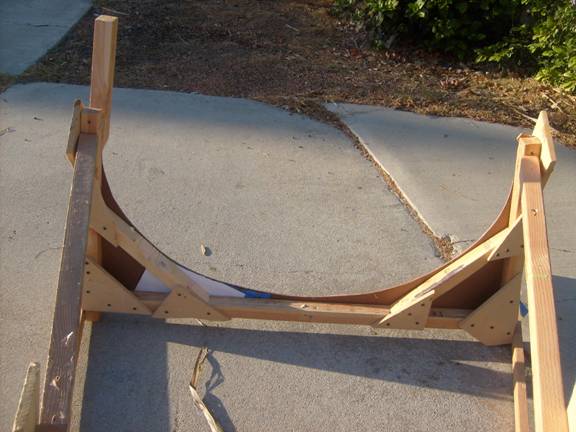
View of largest frame member
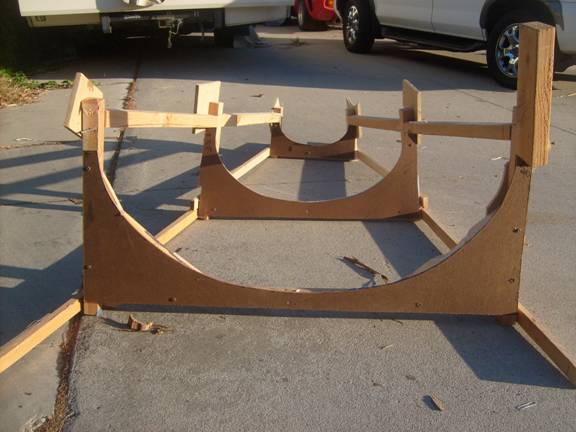
Masonite used to capture curved shape
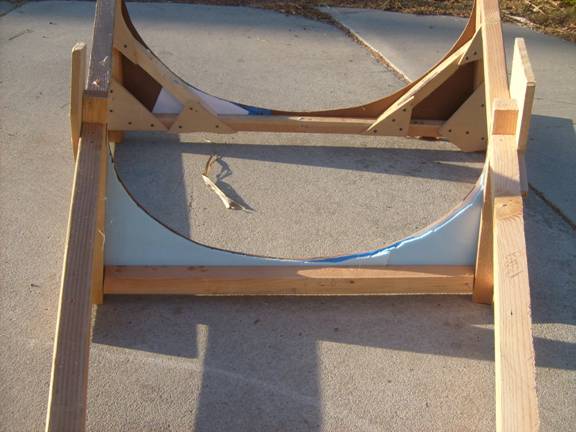
Foam used to capture shape
Our next goal is to capture the arc of our taunt string onto a paper or foam patterns. This was an iterative process for me as I used a large sheet of butcher paper stretch across the frame then trimmed to match the string’s arch.
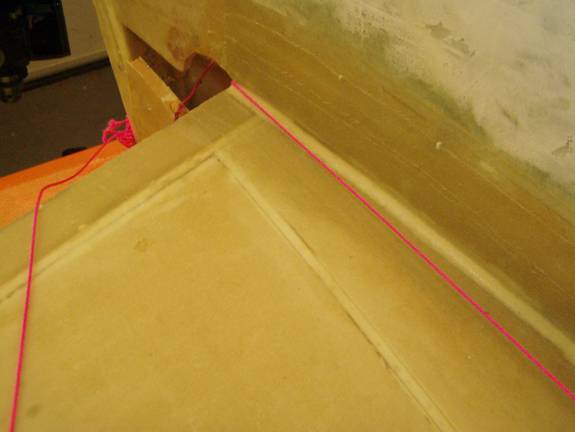
Rear attach point for string
I would use tape to extend the pattern down and use scissors to trim it up. Once it was close I would trace this pattern to another sheet of paper and repeat the process until I was happy with the resulting pattern. Finally the pattern’s curve is transferred to a piece of masonite that can be attached to the 2X2 frame.
Add a few extra lengths of wood between the three frame sections to stabilize the form so it can be removed and flipped upside down.
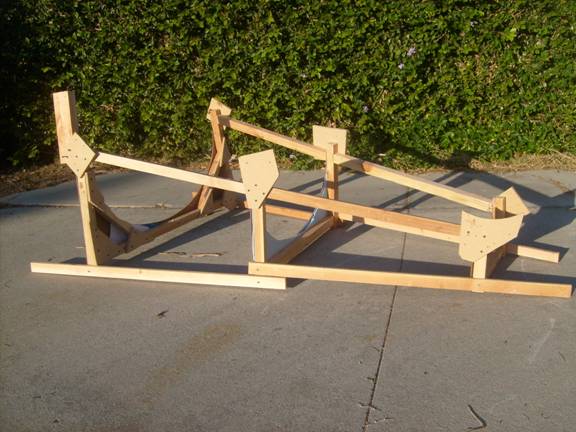
Completed frame ready for last-a-foam