Chapter 2 - Fabricating the Tail
Section 1 - Building the Spars
Next the spars for the horizontal stab and the elevator are build. These are fabricated from the same 1/4" foam and glass stock that we fabricatged our ribs from. We wil them add some reinforeced area and the nut plates for the hinges. Lets get started.
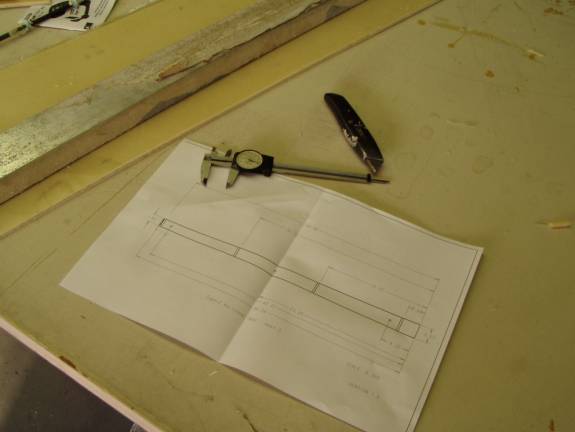
Print out Spar Drawings
Print out the Drawings for the Horizontal Spar and Elevator Spar. Study the drawings and understand the layout. The spars are symmetrical about a center line running through the mounting holes for the hinges. We will cut a tapered piece from the ¼ glass and foam sandwich made earlier. We will sand the edges so they are straight, then we will cut the ends to achieve the proper spar width from center to end. Finally we will mark the locations of the four ribs and hinge mounting holes.
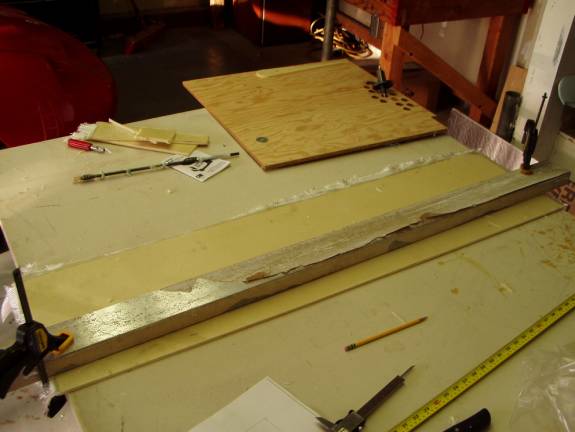
Clamping Scheme for Long Straight Cuts
An indispensable tool that will be used throughout the build is a piece of aluminum box tubing about five or six feet long. Here it will be used as a solid straight edge, later it will be used as a long sanding block to shape the flying surfaces. Clamp the straight edge to the table over the long stock of ¼” glass foam sandwich made earlier. First make a clean edge. Then mark the ends and make your second cut resulting in a spar half.
The technique for cutting straight pieces from our stock is as follows:
- Insure that the straight edge is securely clamped to the raw stock and the table. Check the position of the blade against the straight edge to insure the cut will be made where you want it.
- Draw the razor knife toward you with both the razor blade and the knife body solidly against the box tubing straight edge. Be careful, know where the knife blade will go if you slip.
- Use a slight inward bias of the blade toward the straight edge so the knife does not wander away from the straight edge as you make the cut.
- Use moderate pressure to repeatedly score the fiberglass. Do not attempt to make the cut in one pass. Take several light pressure passes to cut through the glass layer.
- Our intention is not to cut all the way through, just cut through the top layer of glass, do not worry about cutting through the foam. The knife is not perpendicular to the cutting surface and if you attempt to cut all the way through your cut will be angled.
- Once you have cut all the way through the top glass layer, unclamp the straight edge and score a couple of inches all the way through the stock at each end.
- Flip the raw stock over and again clamp the straight edge to the stock. Use the knife held in the proper cutting position against the straight edge and in the cut marks made all the way through the stock to align your straight edge.
- Make the cut on the back side as you did on the front side. Again do not worry about cutting all the way through the foam, just the layer of fiberglass. When the piece is cut, it will pull away from the stock. The foam does not need to be as straight as the foam along and edge will most likely be dug out and replaced with micro at some point anyway.
- Using a sheet of sandpaper laying on the table to lightly sand the entire edge. Drag the part uniformly over the sandpaper using even pressure. We don’t want to take a part that is straight and sand a curve into the ends.
- Nice Job. Admire your straight edge.
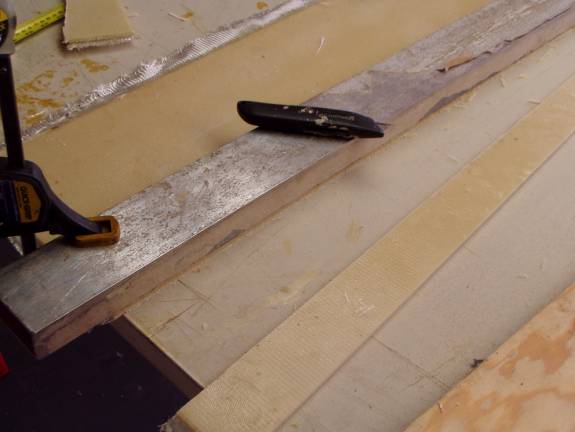
Spar Stock
Set up for the Next Cut
You can cut the pieces a little wider than necessary, it is easy
to sand them down to size later. Go ahead and cut all four
spar pieces, the two elevator spars and the two horizontal spar
halves. Use your calipers to decide where to cut the ends
so the spars are the proper length with the proper width at each
end. Put the left over panel stock asside, there should be enough
to cut the vertical fin and rudder spars later.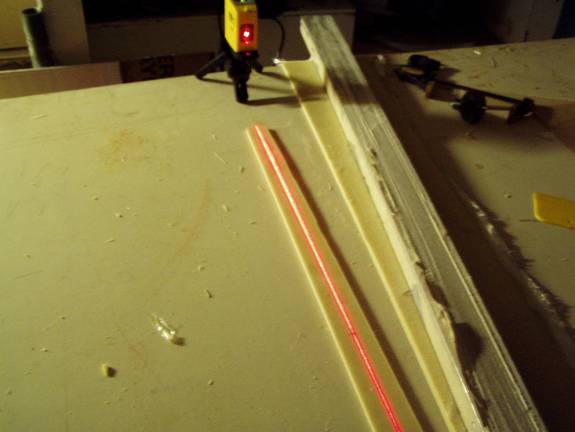
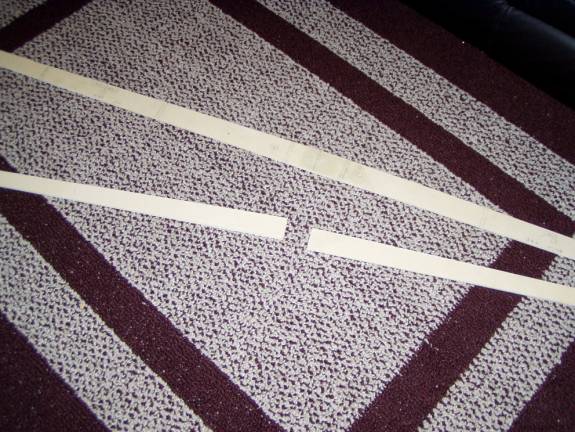
Marking the Center of the Spars
Another indespenisble tool is the laser level. Get one that
can create both horizontal and vertical lines and a unit that is
self leveling is a time saver. This will be used extensively
in the building and jigging of the fuselage.
Measuring in from the side, define the center line of the spar. Mark this, as this will be uses later to alighn the complete horizontal assembly. Locate the hinge holes and make lines to mark the rib locations. Drill #30 guide holes to mark the hinge locations.
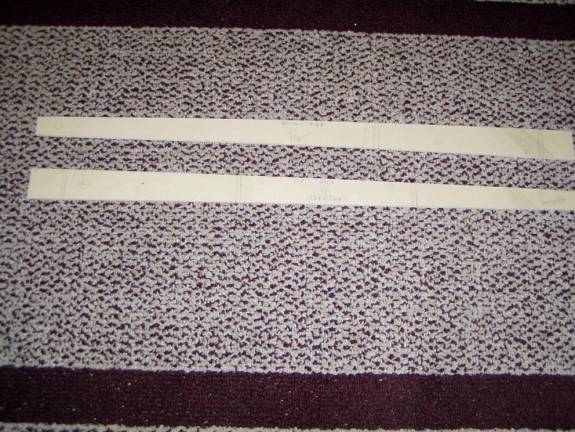
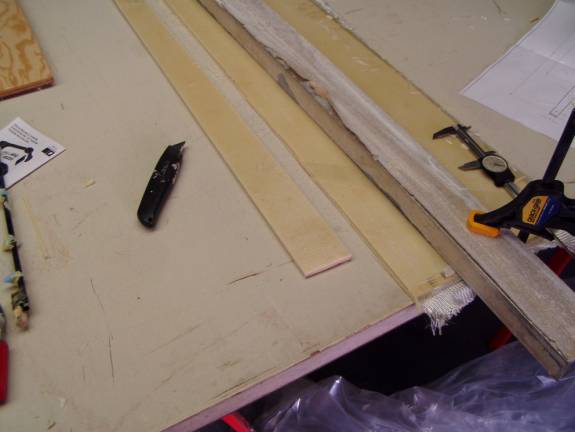
Spars Cut Out
Label each spar half as to port or starboard, (or pilot side and
co-pilot side), top and bottom. From this point forward
we want to maintain proper orientation of the horizontal spar and
the pairing to the elevator spars. The hinge locations will
be match drilled.
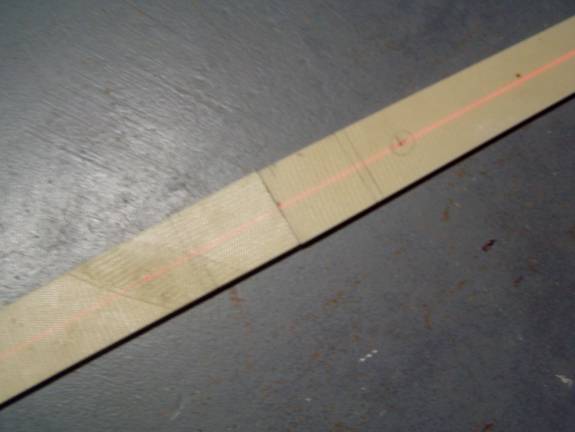
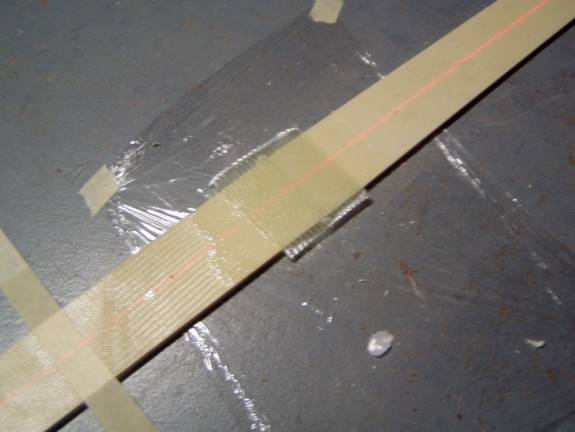
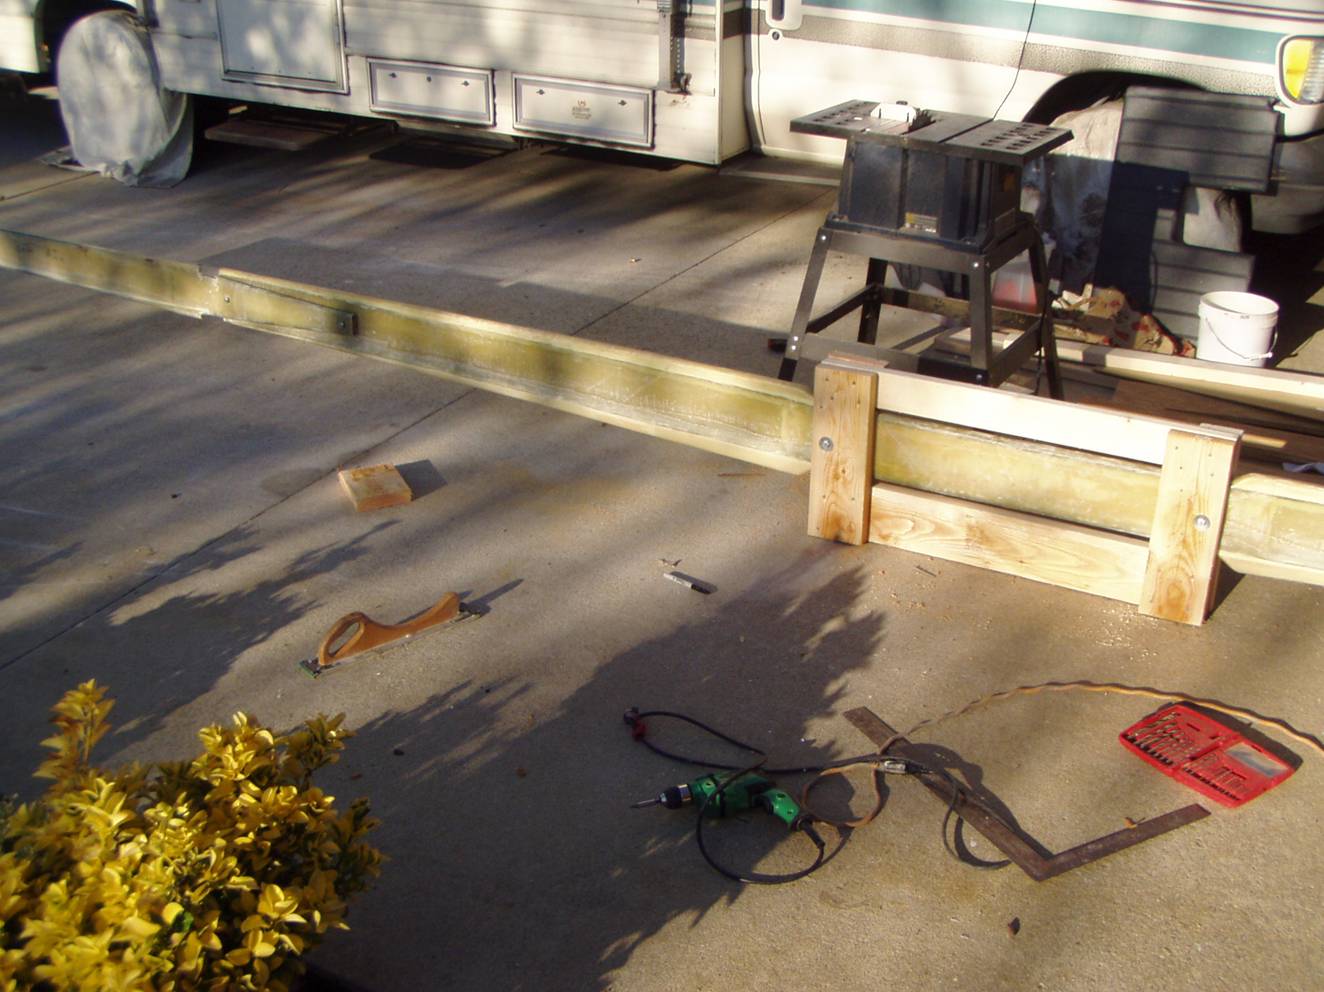
Aligning Spar Halves
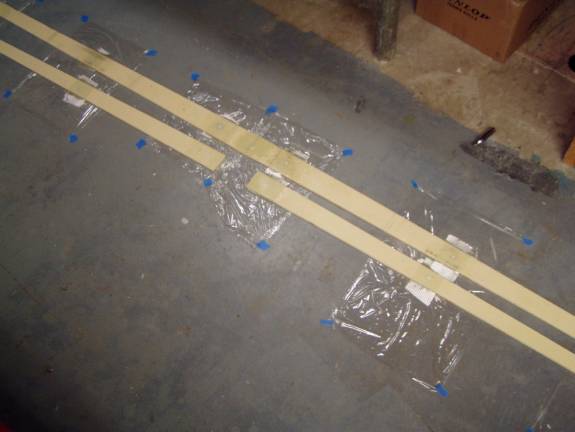
We will now join the two horizontal spar halves. Find a flat
spot long enough to work on the entire spar. Use the laser
level to insure the spar is perfectly straight. Place some
plastic wrap under the joint so you don’t glue the spar to
the floor.
Remove Foam Core at Joint
Dig out about a ¼” of the foam from the center section
of the two horizontal spar halves.
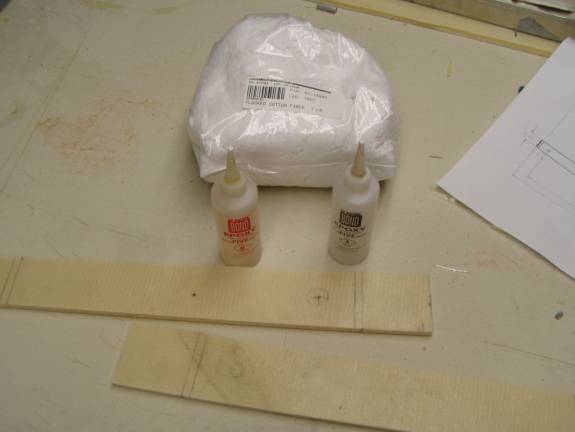
5 Minute Epoxy
Mix up a batch of 5 minute epoxy and flox to a thick buttery consistency.
Work the mixture into the ends of the spar halves and squeeze together. Work
fast before the epoxy cures. 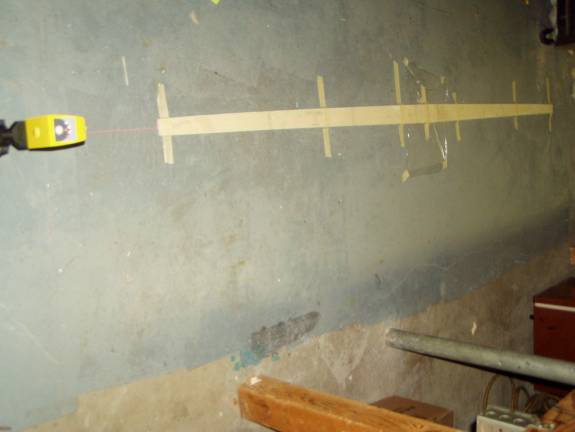
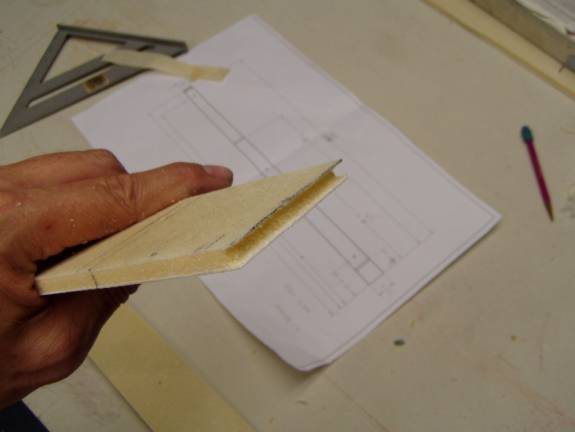
Cutting Cloth on the 45 Bias
Use the laser level to insure the horizontal spar is perfectly straight. Use masking tape to hold the spar in place while the epoxy hardens. It will not take long.
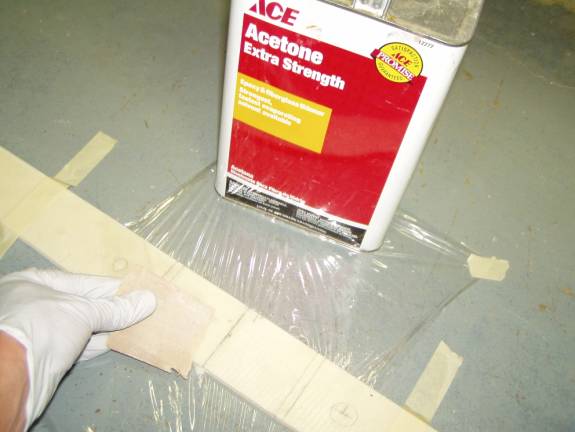
Surface Prep
Once the epoxy has cured, sand the joint and clean it with acetone.
2 BID Joint
Lay a two BID layup extending about 2 inches from each side of the
joint. Flip the spar over and layup the other side in a like
manner. Use masking tape and the laser level to insure proper
alignment and let the glass cure.
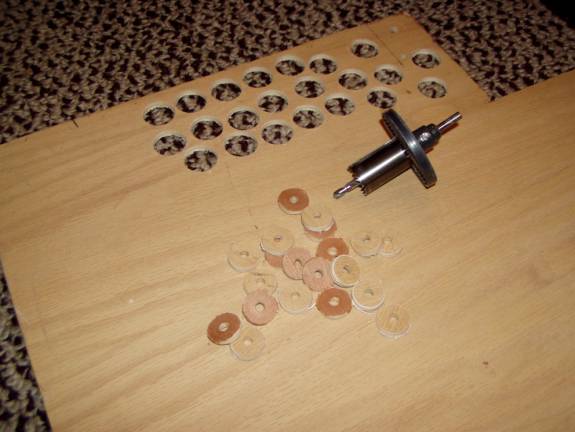
Creating Plywood Hardpoints
Take a sheet of 3/32” or ¼” aircraft grade birch plywood and using a 1 inch hole saw, cut about 20 hard point buttons.
Horizontal Spar and Elevator Spars
Once the spar joint is cured we are ready to install the hinge hard
points. 
Hole for Hardpoints
Use the one inch hole saw to cut out the glass layer on the forward
side of the horizontal spar and on the rear side of the elevator
spars. Do not cut all the way through the spar, ONLY cut through
the top layer of glass.
Remove Glass and Foam from One Side
Dig out the foam in the hole.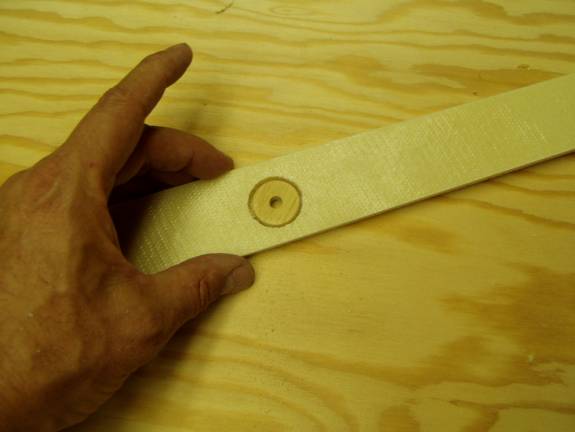
Installing Hardpoint
The hard point buttons will be installed with a thick micro. Two layers of BID will be layed up over the hardpoint and one layer of BID will be layed up on the reverse side of the spar.

Preparing to Bond in Hardpoints
Prepare your work area and materials-sandpaper, acetone, hard point
buttons and fiberglass. Cut out a pile of 4” square
pieces of fiberglass. Lay down plastic wrap on your work surface
as mold release.
Hardpoints Curing
The hinge hard points are installed as follows:
- Use sandpaper and Acetone to clean the fiberglass on both sides of the spar around the hard points.
- Mix up a moderate batch of thick micro using about 25 grams of resin.
- Using a tongue depressor, work the micro into each hard point cutout in the spars.
- Press the hard point buttons into the hardpoint cutouts.
- Use the tonge depressor to level the micro across the top of the hard point. Do not worry about micro filling the hole in the middle of the button, this will be drilled out later.
- Clean the micro from the fiberglass surface every where except over the button itself. It is important to remember that we never want micro between layers of fiberglass as this significantly weakens the joint.
- Layup two layers of BID over the micro-ed button. The glass should extend over the edge and about 2” beyond the button on each side.
- Flip the spar over and clean the micro from the back side if any has squeezed through the hinge holes.
- Layup one BID layer over the hinge hole on the back side, again the glass should extend over the edge and about 2” beyond the button on each side.
- Let the glass cure.