Chapter 4 - Finishing the Tail
Section 2 - Building the Elevator
Elevator Tips
Print out a couple copies of the elevator tip 1:1 template. There are two patterns on the sheet and they need to be cut out and taped together. Cut two of theres tips from our2" thick 2 lb. polyurethane foam block. The elevators need to be mounted to the horizontal stabilizer before we bond them on. Use stir stick spacers between the outer elevator rib and the horizontal stabilizer. The elevator tip also includes the small part that attaches to the horizontal stab. True everything up, then bond the foam blocks to the outboard elevator rib and to the horizontal stab (only at the very front) with 2 part polyurethane foam. Let cure.
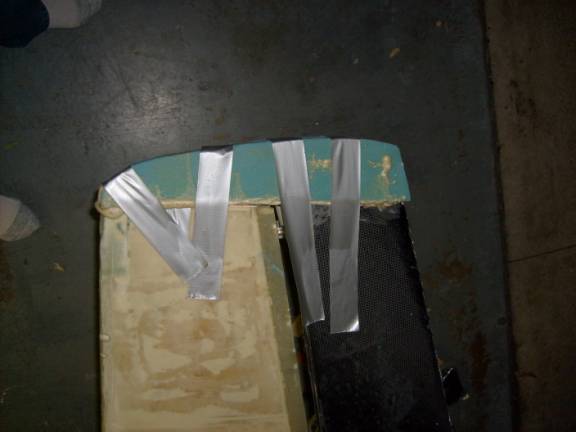
Secure elevator tip in place and let cure
Once the tip is cured, seperate the elevator tip from the horz stab tip by cutting straight out from the very front ecge of the outboard elevator rib. Remove the elevators from the horizontal stab.
Sand top and bottom of tip to shape
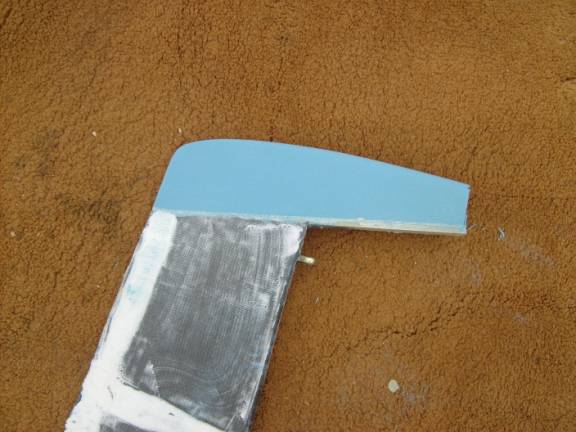
Next we will gently sand the top and bottom shape of the tips using the shape of the elevator itself and the outboard elevator rib as a guide. You should attach the elevators to the horizontal stab to unsure the surface tips are a bit below the surface of horizontal stab. We will be adding a total of three layers of carbon fiber on the forward side of the tips, this is not much but is is easier to add a little micro thickness to the tips, than to the whole horizontal stab to make then level later.
Tip matches the shape of the 1:1 Template
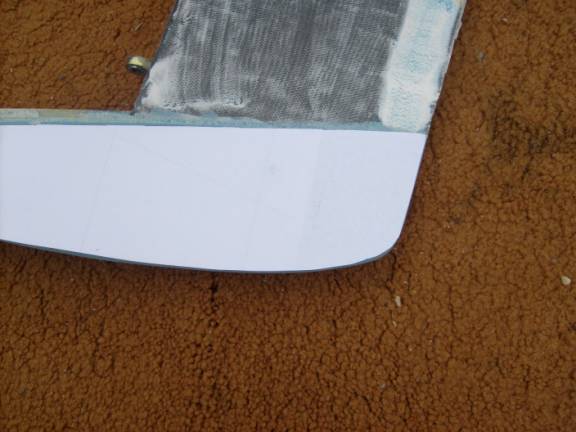
Sand a radius into the outside edge of the tip. The circumfrence of the shape you sand should match the thickness at each point along the edge. See the photo below. The final sanding should be on the horizontal as we want the elevator tip to match the horizontal stab tip.
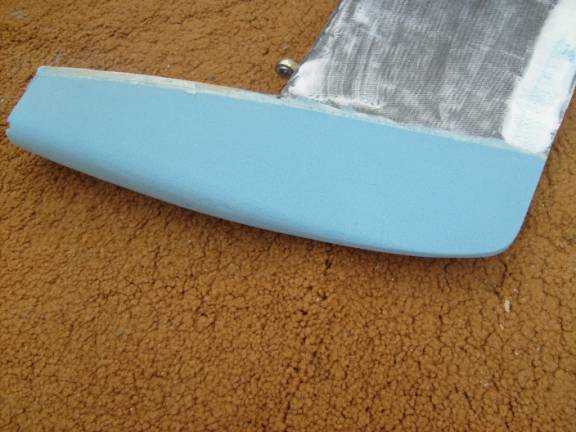
Radius sanded onto tip
Now it is time to add the carbon fiber layers at the tip. First prepare the inside forward section of the end rib. Remove foam between the layers of fiberglass and fill with micro. then sand a nice radius as you did with the front side of the elevator spar.
The first layer of carbon fiber covers only one side of the tip at a time. It will extend only an inch and a half onto the existing carbon fiber layer of the elevator inboard of the end rib. It will cover the entire side of the end rib and wrap around the curved section about 3/4ths of the way around. At the rear of the tip rib where the elevator is too thin to wrap the carbon fiber cloth, just have it hang over the edge as much as possible. The layer will wrap around the nice radius you made on the forward inside of the end rib and wrap down 3/4ths of the way down the inside of the forward driving rib. Let about a half inch or so of the cloth extend forward, do not worry about the exposed foam at the front, we will deal with this area later--this is where out lead counter weight will go. Let this layer cure. Trim where neccessary.
Flip the elevator over and and where the glass cloth could not wrap around the outside of the elevator because the tip is too thin, dig out a bit of the foam so the carbon layer on the other side is exposed, about 3/4". Now repeat adding a layer of coarbon fiber to this side of the elevator in the same manner as you did the first. the only exception will be toward the back outside of the tip where the cloth will be pressed down against the layer on the other side. Let cure. Now use a thick micro and dress out the area of the back outside tip where we had to dig out some foam. Re-shape the tip to the proper shape. Sand the entire tipe, trim any carbon fiber sticking up. do not micro the outside of the carbon fiber skin as we have a couple more layers to add here.
Next we will add two more layer that have a bit more complicated shape. It took me several iterations before I had a paper template that I was satisfied with, but I did not waste any carbon cloth. The end result we are trying to acheive is three total layers of carbon fiber on the forward section of the tip and two layer on the rear section of the tip. remember we already have one layer from before. Start by laying a large piece of paper on the end of the elevator, then trim it so the inboard edge extends about 3 inches inboard of the end rib. Cut a triange in the area shown in the following photo.
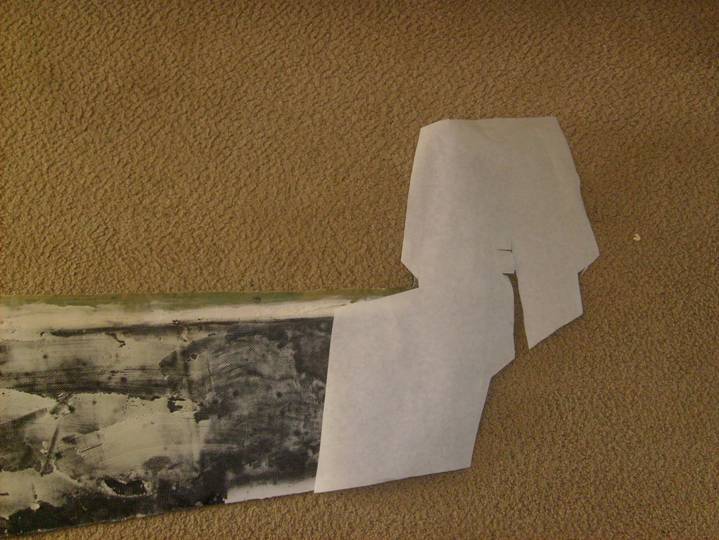
Final Shape of pattern
Extend about 3 inches inboard of End rib
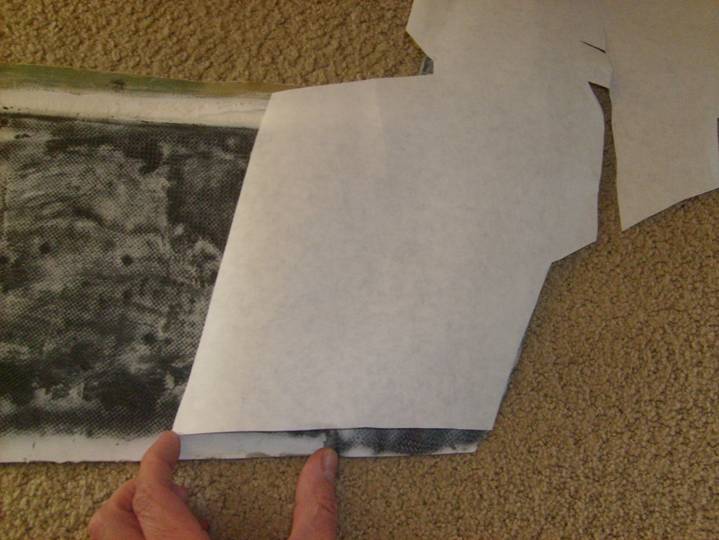
Trim the paper so it extends about a half inch back from the elevator. the above photo shows the paper moved up a bit to show the three inch overlap.
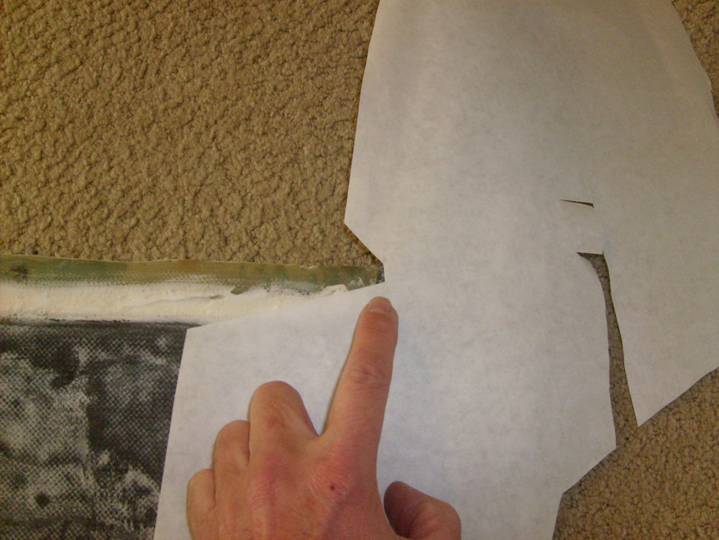
Cut notch to negotiate this corner
Trim the forward inside edge so we have a 3/4 overlap on the inside of the end rib as shown below.
Trim so we have a 3/4 coverage of inside End Rib
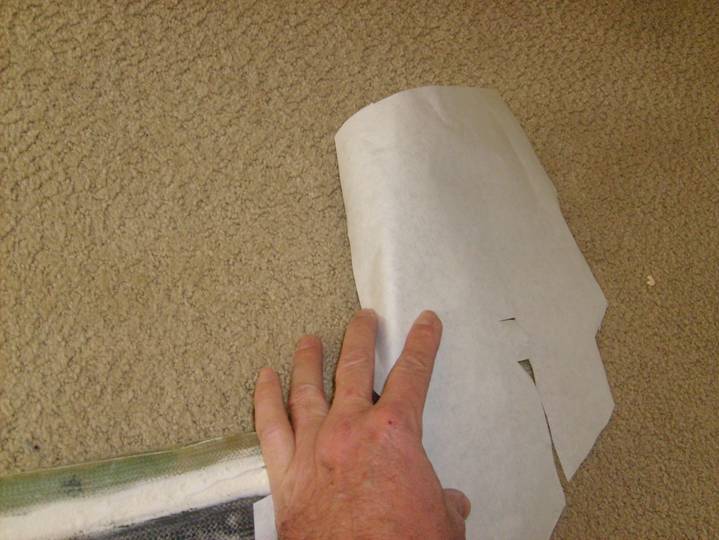
Next trim the rear two thirds of the patter so it just extends beyond the outside edge of the tip. the forward tip will wrap around the other side. A thin triangle is cut out as shown below to allow the carbon to conform to the complex edge as it is wrapped around the tip.
Notch cut on outside so forward 5 inches of tip wrap around
Trim the paper so it will wrap all the way around the forward section of the tip and give us the same 3/4 overlap on the inside of the end rib as shown below. Then trim so only about a half inch extends forward of the tip.
Forward part of tip completely wrapped
3/4 overlap on inside of End Rib
The rear section will be wrapped around the tip, much in the same manner as the initial carbon layer was.
The rest of the tip is dressed as shown
With the pattern held in place on the elevator draw two lines running 45 degrees to the horizontal stab. This is the way we want the carbon fibers to run. It should match the 45 degree bias you have on the first layer you laid down. Cut four of these from your carbon cloth orienting the fibers with the two perpendicular lines you just drew.
After all that work describing the creation of the pattern the actual addition of the layers to the elevators tip should be self explanitory. Make sure the cloth conforms closely with the shape of the elevator and tip. Add a layer on both sides of each elevator. Let cure. You can trim the forward section of cloth on the exposed end of the elevator tip.
Great we have a skinned elevator. Next we will add the forward radius to the elevator, the portion that closes the gap between the elevator and the horizontal stab. Then we will balance our elevators.