Chapter 4 - Finishing the Tail
p>Section 2 - Building the Elevator
Fabricating the Elevator Parts
There are two control surfaces that constitute the elevator in the Super2. they are connected together with a control weldment to the elevator bellcrank. Each control surface is constructed from an elevator spar, a driving rib and a wing tip rib. A foam block then fills the space between and are glassed over in carbon fiber. The elevator ribs should have been cut out earlier. these are made using the patterns found on the download page from 1/4" 4.5 lb. last-a-foam glassed on both sides with 1 layer BID.

Copy the spar location on all four elevator ribs as shown above. These ribs will be attached to each end of the spar, but first we need to attach the hinges to the elevator spars.
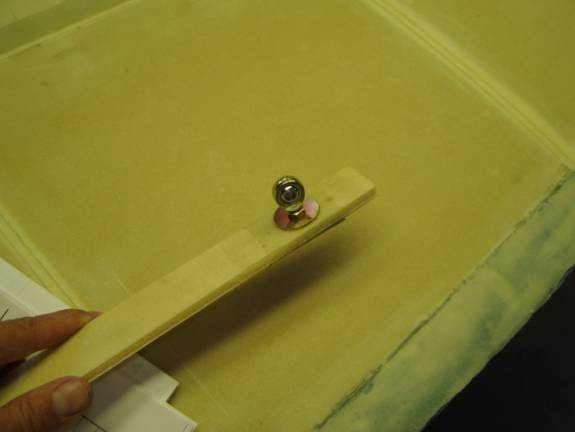
Drill out the hinge holes thought the elevator spars slightly over sized. We want the rod end to have play so we can position the nut plates precisly.. One side of the spar was reinfored with two BID, this side points aft. Take an Arrora MM4 rod end and install a MS half height lock nut all the way on and tighten. Install a MM shoulder washer.
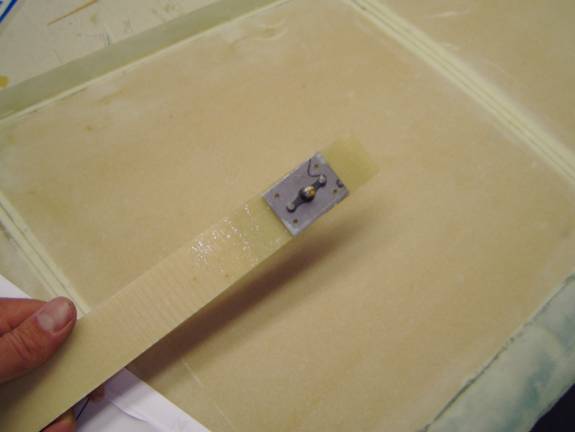
Use a nut plate to secure the rod end. Make sure the side of the spar with the double BID reinforcement mates tot the nut plate. tighten unti there is still alittle play.
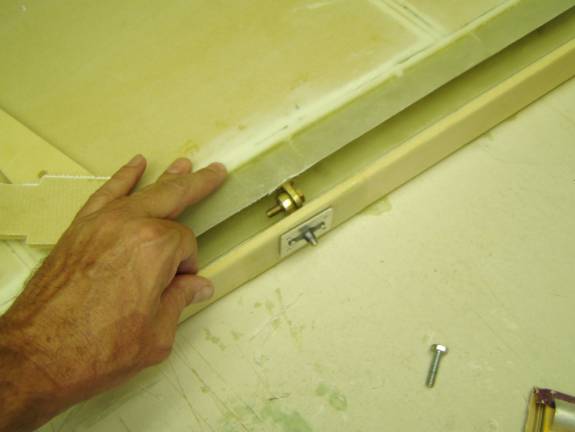
Install the elevator spars to the horizontal stabilizer. You may use inexpensive hardware like the 1/4" bolts shown laying on the table for initial fit, but we will use AN hardware and locking nuts for final assembly. If the spar buckles or is not centered, enlarge the holes abit. Insure that the spar is centered up and down.
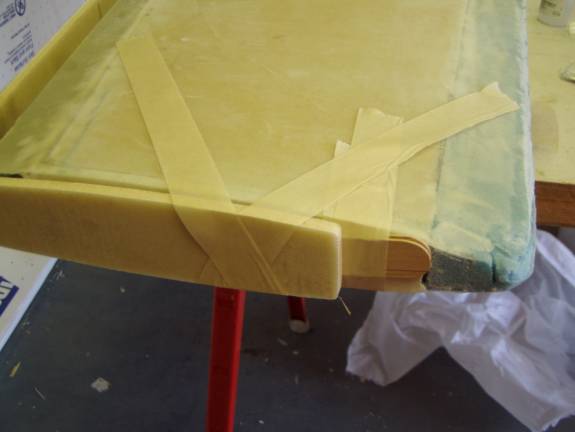
Insure that the horizontal stab end rib is sanded smoth. this edge will be used to define the proper location for the elevator tip rib. Use a 1/8" spacer between the horizontal stab end and the elevator and using the pencil marks on the rib to align it with the spar, tape the rib into position. The spar may need to trimmed to mate with the angled rib. When the spar is trimmed and centered, rivet the nutplates into position with pop rivets. Tighten the arrora rod end bearings into the nut plates. They should be tightened 1/2 turn past where they first impact the rear spar.
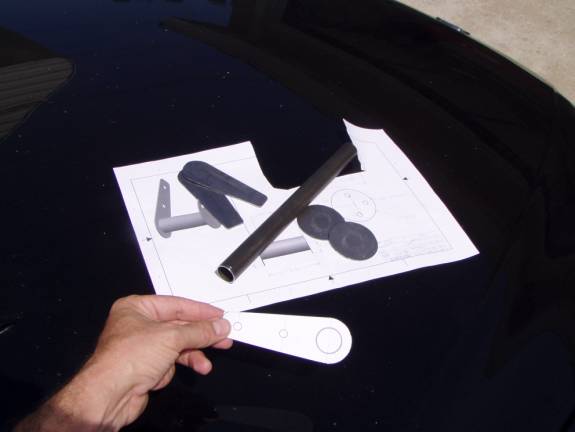
At this point we will need the elevator control weldments. Use the print to fabricate the individual parts for the elevator control weldment from 4130 steel. Also fabricate the elevator control horn from 1/8" sheet aluminum.
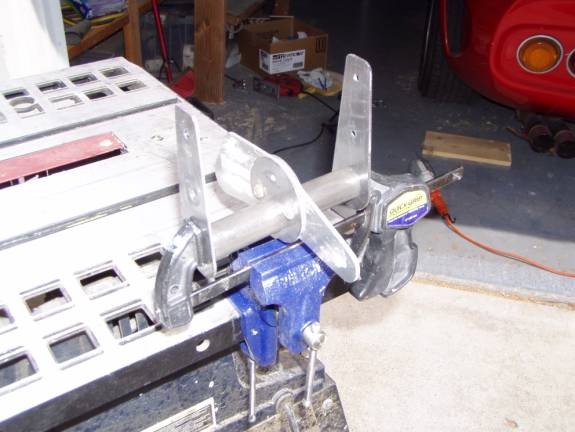
Jig the welments and insure they are square then weld.