Chapter 3 - Fuselage
Section 3 - Joining the Fuselage Halves
Installing the Spruce Longerons
Overview: Every KR needs spruce longerons, right? The spruce longerons add rigidity and strength to the fuselage around the canopy opening. They run from the firewall back to the seat back. The tops of the longerons are level with the fuselage centerline and the outside of the longerons rest against the inside of the outer fuselage fiberglass skin. We will level up the fuselage, align the longerons and then trim away the inside fiberglass skin. They will then be bonded in place with a mixture of flox and epoxy. Later, when we finish off the front deck and the canopy opening the spruce will become encased in layers of fiberglass. Let us get started:
Step 1. Level the Fuselage. Use the laser level to level the fuselage. I use the vertical and horizontal lines on the firewall as my master datum. Also I have horizontal lines running down the side of the fuselage to insure it is level. I have hot glued little string levels on the fuselage at strategic points, firewall fuselage sides, to make it easy to double check the fuse is level.
Step 2. Cut the longeron to length. Obtain two strips of 3/4 “ X 3/4” spruce and cut them to XX” in length. Mark them right and left and mark the top of each. You want the grain to be oriented so the outward bow of the fuselage is against the grain. That is, if you look at the end of the piece of spruce, you want to see the layer of grain stacked up like a layer of pancakes. After I purchased my spruce longerons, I cut them to size and then stored them on a shelf, a 3” spacer in the middle and clamped each end down, so they began to hold the desired bow. I am not sure what this gained me, however.
Align and Level the Longeron
Step 3. Align and Level the longeron. Temporarily clamp the longeron to the side of the fuselage so its top aligns with the level line on the firewall and so that the top of the longeron is level front and back.
Clamp Longeron in Place
Step 4. Clamp the longeron in place and double check the alignment of the longeron, the level of the fuselage and the level of the longeron. Then use a sharpie marker to draw a line on the fuselage along the bottom of the longeron. Note the line level hot glued to the fuselage side to aid in leveling the fuselage.
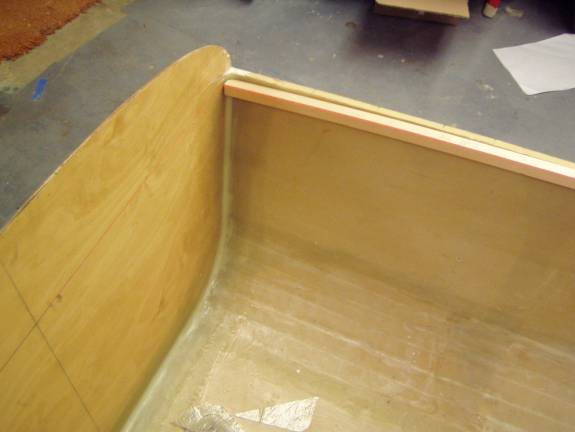
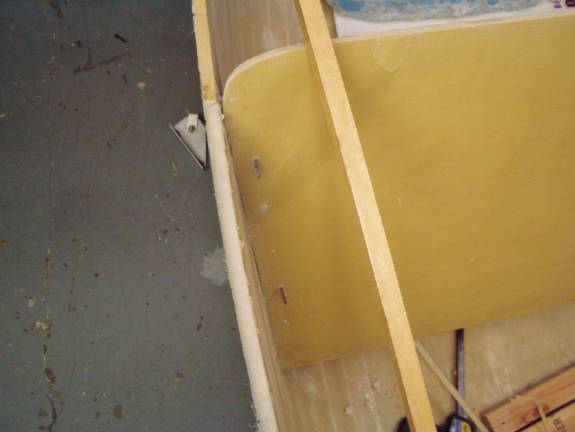
Level Line marking bottom of longeron on Fuse Side

Inner skin removed, 1/4” foam core removed
Step 6: Remove about a ¼” of foam core between the outer and remaining inner fiberglass skin of the fuselage side panel. Use a sanding block with coarse paper, 40 grit, to even the edge of the inside fiberglass skin. Test fit the longeron in place and trim any problem areas.
Step 7: Prepare to bond the longeron in place. Gather clamps and backup plates and then test clamp the longeron in place. Use 1/8” strips of plywood or the like as back up plates on the outside of the fuselage to prevent the outer skin from separating from the panel. This is especially important around the seat back where the longeron will be pushing outward on the fiberglass skin. You can glance ahead a few photos to see a picture of the clamping arrangement I used. When satisfied that you have the clamping technique down and will be able to clamp the longeron in place once the epoxy is applied, set the clamps aside and get ready to mix up a batch of epoxy.

Wet the channel with raw epoxy
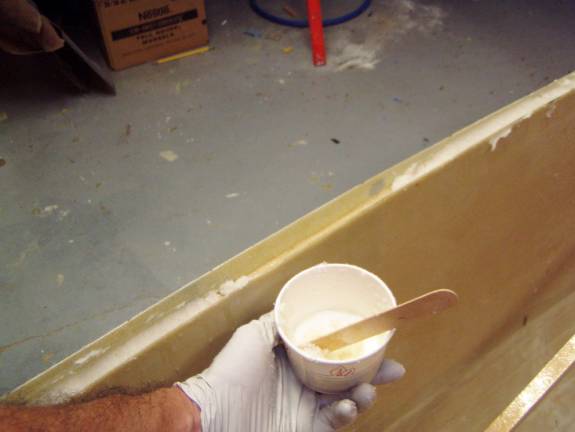
Pack Flox into Channel
Step 9: Pack flox into the channel in the top of the fuselage side panel.
Channel Floxed, Longeron ready for installation
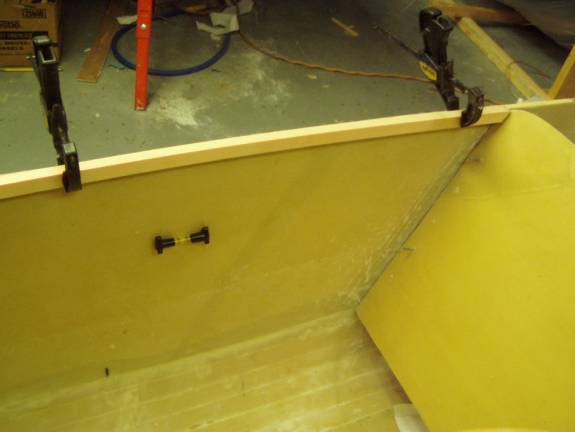
Step 10: Clamp longeron in position. Sight under the longeron and insure it is resting down against the cut inner fiberglass skin. Insure that the outer skin is not deformed by the clampling process—use plenty of backing strips to insure the orientation of the longeron is correct. Let cure.
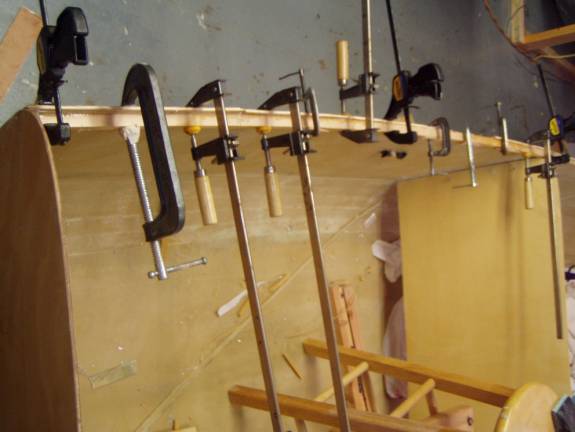
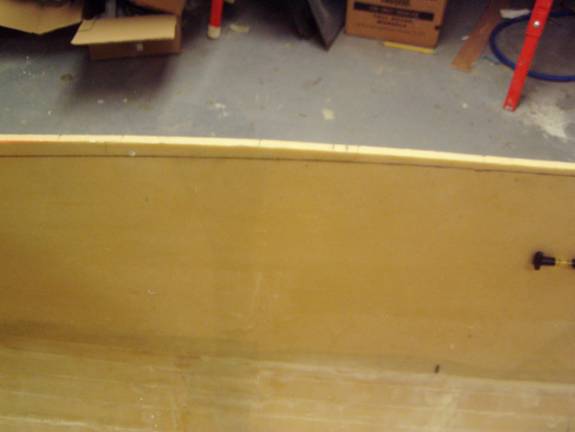
Using every clamp in the house.
Conclusion: Once the flox has cured remove the clamps and trim the outer fiberglass skin so it is level with the top of the longeron. Repeat for the other side. You may do both sides at the same time, but I did not have enough clamps to pull that off.