Chapter 3 - Fuselage
Section 3 - Joining the Fuselage Halves
Installing the Firewall
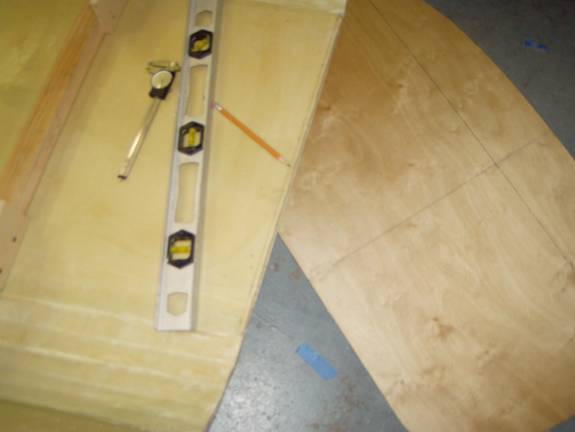
Pull together the materials needed for the firewall, a 2’ X 4’ X 3/16” sheet of aircraft grade birch plywood, the firewall layout diagram and the firewall template diagram. You will need 6 copies of the firewall template diagram. Mark a vertical center line on the sheet of plywood and mark a horizontal line 17 5/8” from the bottom of the sheet. Use a level and insure the lines are exactly perpendicular with each other and the bottom of the sheet. These two lines will be used as the master level lines for the aircraft. The vertical line is the aircraft centerline of course, and the horizontal line is the level line of the fuselage. You will also need some light fiberglass deck cloth to protect the firewall from oil and other contaminates.
Cut the Templates
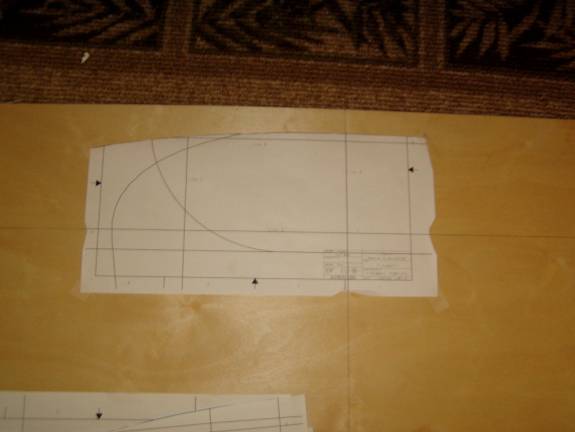
Take two of the template sheets and cut along Curve ‘Z’. These two templates are the top center of the firewall. Align the vertical Line ‘A’ on the template with the firewall vertical centerline. Align the un named horizontal line just under horizontal Line ‘D’ on the template with the horizontal line on the fuselage. Turn the second template over and align it likewise on the right hand side of the fuselage. Place a mark 19” each side of the firewall vertical line on the firewall horizontal line. This marks the widest part of the firewall.
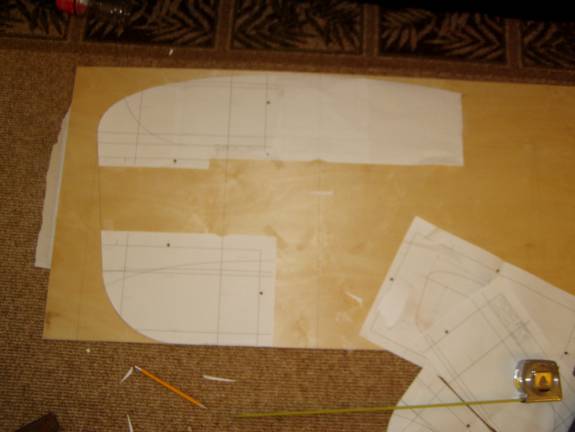
Four of the Six Templates Placed
Take two more template sheets and cut them along Curve ‘X’. Align
these as shown above with the outer most point on the horizontal line
aligned with the edge of the
template, and Line ‘D’ aligned with the firewall horizontal
center line.
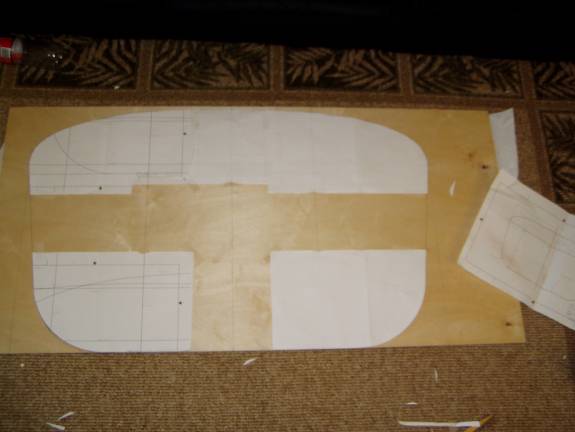
All Six template sheets in Place
Extend the straight line that represents the fuselage side down and use this line to align the last two template sheets that have been cut out along Curve ‘Y’. You should end up with the templates arranged as shown in the above photo. Trace a thick pencil line all the way around the outside of the template. Take the marked up firewall and place it against the Fuselage front and see how good a fit it is. The fuselage is a little flexible and will conform to small (a ¼” variation or so) difference from the firewall. However if there is a gross difference between the firewall resulting from the templates and the fuselage, figure out what is wrong. Better to do it now then after we have wasted a good piece of plywood.
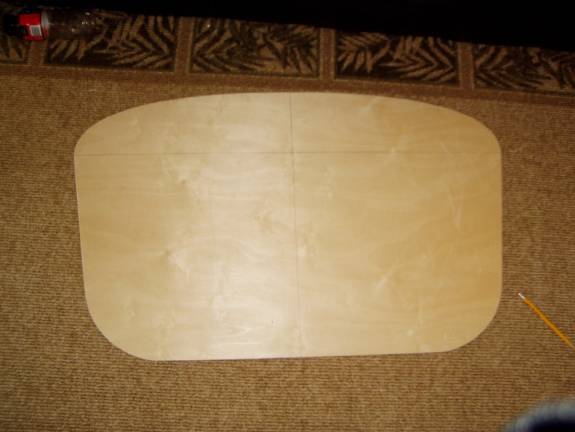
Firewall Cut from Plywood Sheet
Cut the Firewall out with a fine bladed saber saw or scroll saw just outside the pencil line. Then use a sanding block to carefully sand away the pencil line all the way around. This should result in a very accurate and true firewall. Sand the edges and lightly scuff the plywood surface. Clean off the surface and prepare to fiberglass with a single layer of light weight fiberglass deck cloth on each side of the plywood. The fiberglass does not have to be oriented at the 45 degree bias, as this is just a protective layer and is non-structural.
Mark on inside of Fuselage
You have already prepared the forward face of the fuselage to accept the firewall. It should be dead square with a nice clean straight cut all the way around. You might want to double check that the front edge is perfectly square as it will be difficult to correct after the firewall is bonded in place. Scribe a line 3/16” back from the front edge of the fuselage on the inside of the fiberglass as shown above.
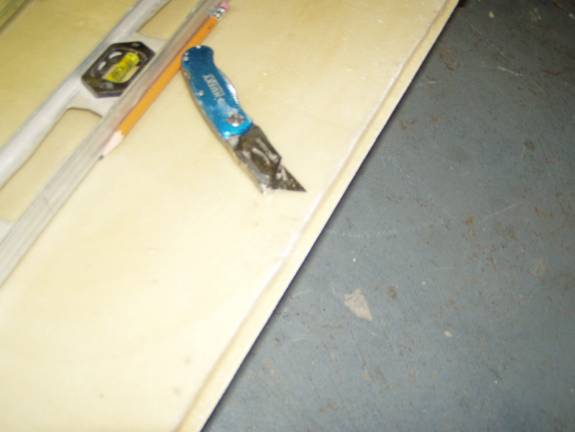
Trim Away inside Fiberglass Laminate
Use a razor knife to cut away the inside glass layer and the foam, but do not cut into the outside layer of fiberglass. Dig out a further ½” of foam from between the inner and outer fiberglass laminates. Test fit the plywood firewall in place. Check that your center line lines up with the center line on the fuselage. If the fuselage walls are a bit taller than the horizontal line, that is OK. Use tape to secure it temporarily and use the laser level to insure it is square in all three directions. Clean up the edge you have cut if required.
When satisfied, mix up a thick flox and epoxy mixture. Use a paint brush to wet the fiberglass surfaces in the slot with pure epoxy resin, then pack with the flox mixture. Wet the firewall surface with pure epoxy resin as well and press it into the floxed slot in the fuselage.
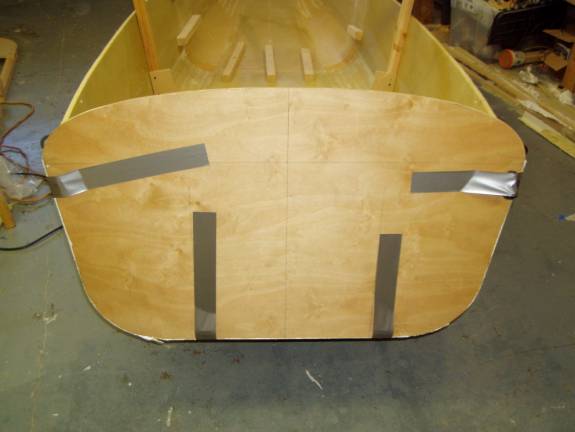
Secure Firewall in Place
Use Heavy Duty duct tape to secure the firewall in place. Use spacer blocks as shown to insure the tape is applying a positive force to the bond.
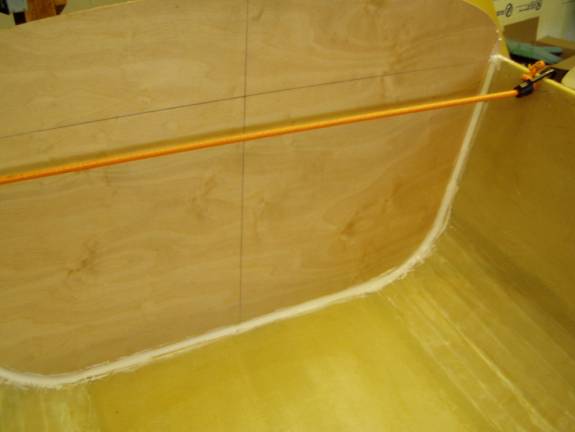
Bungee Cord to apply Inward Pressure
Use a bungee cord as shown to apply inward pressure on the fuselage sides to insure the firewall is making solid contact all the way around. If you need to apply some localized clamping to insure this, do so. Form a nice radius with the flox at the firewall fuselage juncture as shown above.
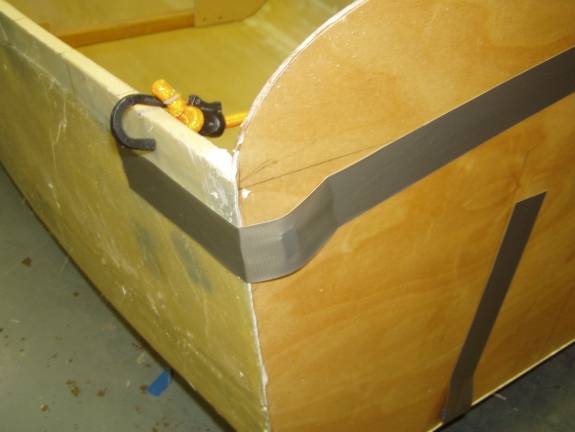
Close up of Tape Spacer
Once the flox has cured, prepare the firewall and fuselage sides for BID reinforcement. We will use six layers of BID bonding the firewall to the fuselage on the inside of the joint. Earlier we made the radius between the two with the flox oozing from the joint. Rough up the fiberglass of the fuselage side with sandpaper, do the same with the firewall, but be very careful, as the single layer of fiberglass is very thin. Clean the surface with acetone. Cut the 6 strips of BID 8”, 7”,6”,5”,4”,3” inches wide in strips long enough to go around the entire inside joint. Let cure.