Chapter 3 - Fuselage
Section 3 - Joining the Fuselage Halves
We have trimmed the front and rear fuselage sections and by using the laser level for that process the resulting joint lines up very nicely. Flip the fuselage into its normal orientation. Level up the forward fuselage section. The fuselage side walls can be used to level side to side and forward to rear. My fuselage sat on the floor and was level side to side, but I had to prop it up to get it level front to back.
There are three degrees of freedom we need to control. Aligning the centerlines is the first of these. Use the laser level sighting down the inside of the fuselage and align the front and rear sections so their center lines line up. Once this is done we can use the two cut edges to align the fuselage in level nose up/nose down. These joints were cut so they were perfectly vertical. Return the front and rear fuselage sections so they are level front to back by insuring the two joining surface are level. If you join the two centerlines, level the front and back section with respect to the cut lines and level the front fuselage section side to side—the two halves are in the proper position.
Using sections of 2X2 and wood screws through shoulder washers, join the two fuselage halves. Then repeat the leveling execise and insure that the front and rear sections are still in the proper orientation and both are still level in all three axis. Don’t worry if you have to remove the 2X2s and completely start over. Take your time now because all other alignments later on, from the canopy alignment to the alignment of the vertical fin, assumes you have properly mated the forward and rear fuselage sections.
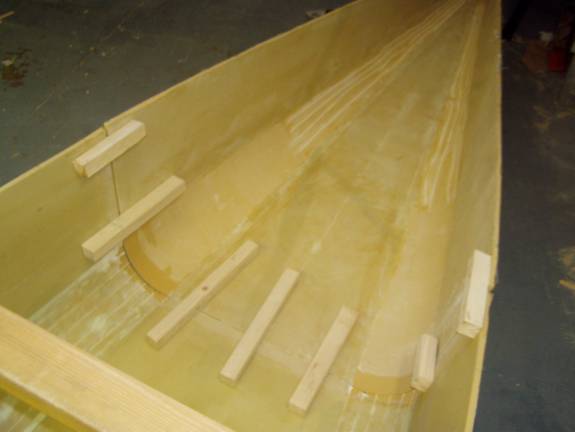
2X2s used to mate the two fuselage halves
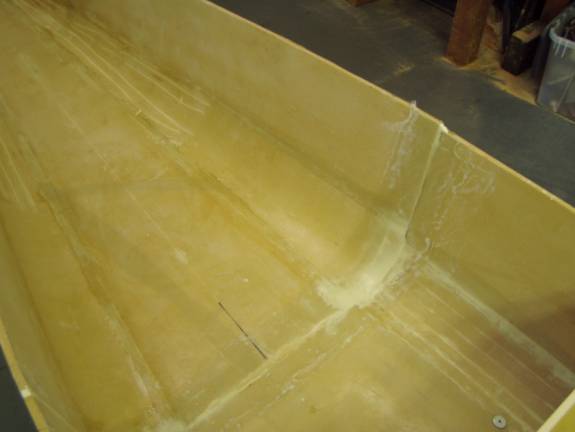
The only tricky part to aligning the front and rear fuselage sections was matching up the amount of radius in the rear section to match the amount of radius in the forward sections. support the two fuselage halves as described above so everything is level. then secure the floor of the front fuselage half with the floor of the rear fuselage half. then work the side of the rear fuselage up and down in small increments until the amount of radius matches. The forward fuselage half is very ridgid since it has been fiberglassed inside and out. The rear fuselage half still does not have the radiused portion glassed so it is still a bit flexible.
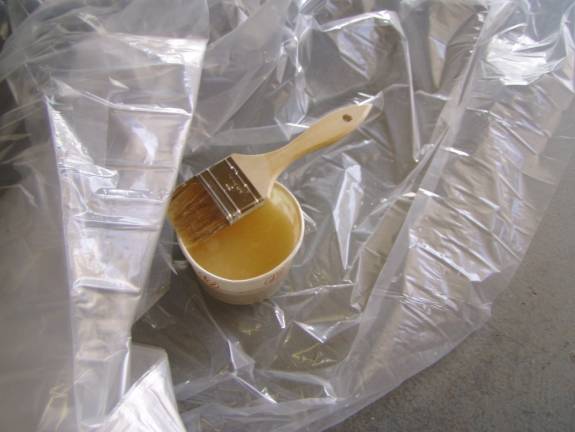
Cabosil makes the resin appear milky
Once you are happy with the alignment of the two fuselage halves prepare to bond them permenantly. Flip the fuselage upside down. Roughen up the fiberglass a couple of inches each side of the joint. Clean with acetone. Mix up a batch of thick micro and fill any gaps between the two halves. Mix up a batch of resin and add a small amount of Cabosil. This is a thicksotropic agent that will keep the resin from running down the vertical side of the fuselage while it cures.
Apply a 4 inch wide section of UNI across the joint with the major fibers running the length of the fuselage. Then apply a slightly narrower tape of BID across the joint with the 45 degree bias oriented with the UNI.
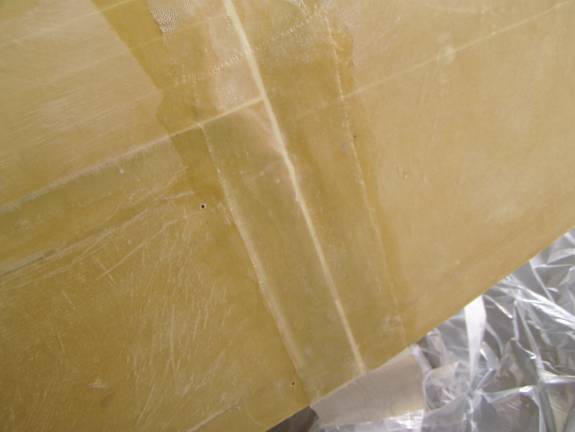
The UNI and BID will fit within the joggles crated in the fiberglass
panels.
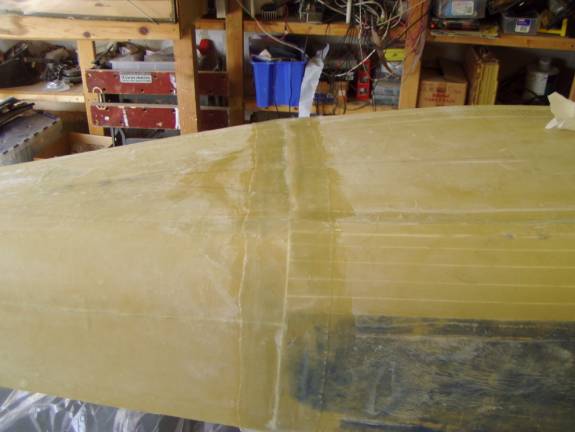
Let the joint cure
Glass the inside joint in the same manner
Again use a layer of UNI and a layer of BID on the inside of the joint with the fiberglass oriented the same way as on the outside. Finally apply a single layer of BID to the radiused section of the rear fuselage interior so it overlaps at least an inch up onto the preveiously cured glass sides.