Chapter 3 - Fuselage
Section 4 - Fuselage Features
Forward Deck
A small section of upper forward deck will be built behind the firewall. The purpose of this top section of the fuselage is threefold—to reinforce the firewall, to provide additional support to the engine mounts and to support the forward edge of the windshield. Later, foam sections will be fabricated that compete the forward top deck around the edges of the forward canopy. These will be glassed over and will contain the flange for the bottom edge of the windshield.
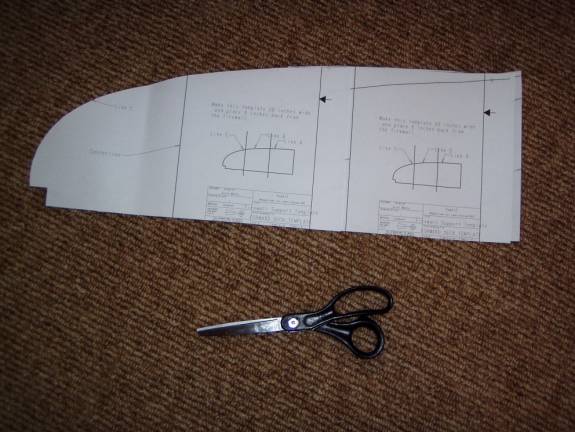
Print out three copies of the Firewall Support Template and cut them out and tape them together to create a template for ½ of the firewall support bulkhead. The directions are on the printout.
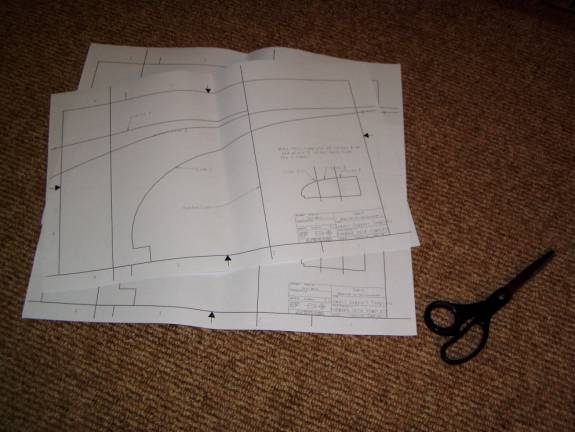
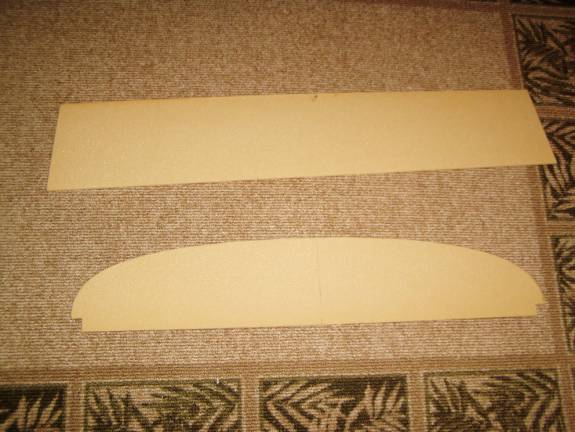
Cut one each sheet along line A, Line B and Line C. There are vertical lines spaced 7 inches apart that are used to join the three sections into one template. Tape them together as shown in the little picture on the drawing. Use the template to trace both halves of the firewall support bulkhead onto a piece of ¼” thick last-a-foam.
Cut a polygonal piece of ¼” last-a-foam 8” wide, 46” long on one side and 44” on the other. This will be the top sheeting behind the firewall.
Level up the fuselage
Slurry and layup one layer of BID fiberglass on each side of the firewall support bulkhead. Slurry and layup one layer of BID on one side of the polygonal sheet, this will become the top skin. Fill the edges of the firewall support bulkhead with micro.
Sand a curve into the first 8 inches of the top inside edge of each longeron right behind the firewall.
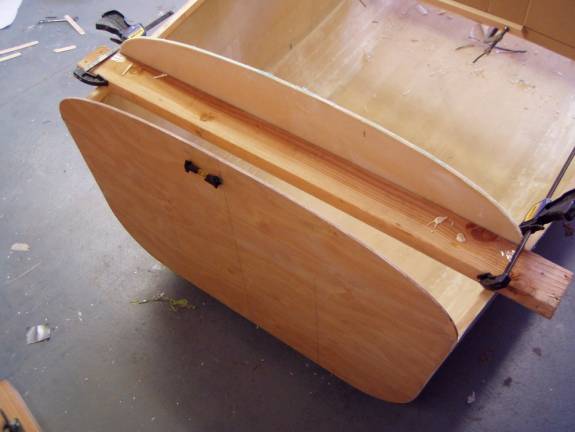
Use dabs of 5 minute epoxy and flox to secure the firewall support bulkhead into position 8 inches behind the firewall. Use a level to insure it is square. In the photo above, a 2X4 has been used to insure the firewall support bulkhead is straigt and true while the 5 minute epoxy cures.
The top sheeting is installed with the glassed side up. It helps if the ends are pre-bent by working a curve into them by curling over the edge of a small cylinder—I used a spray paint can. Gently curve the ends to the general shape of the firewall and support bulkhead. Use superglue and spray CA accelerator to tack the top skin in position between the firewall and the support bulkhead. Mark the center of the top skin and align it with the centerline marked on the firewall. Start in the center and work outward to the two sides. Push the top skin down between the firewall and support bulkhead and then spot glue with CA (superglue). Hold until the glue is cured and then workn further out until the entire panel is glued into position. Trim the glass back to the top skin is equal to the top edge of the firewall, support bulkhead and fuselage sides.
Mix a batch of thick micro. Fill any holes around the eges of the top deck skin.
We now need to create a micro radius around the edges of the foam side of the top skin. This is easiliest achieved if we flip the fuselage onto its side. Slide a short 2X4 to support the forward fuselage side, then sit on the inside of the fuselage side.
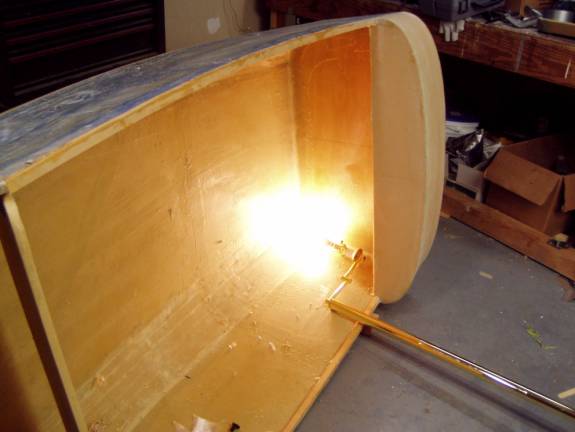
Fuelage on it side to allow access to inside of top forward deck
Look closely at the above phot and you can see a 2X4 sticking out under the fuselage just under the lamp pole. This was used to support the fuselage to allow one to sit insde the fuselage to gain easy access to the inside of the top deck. A lamp was used to light up the work area.

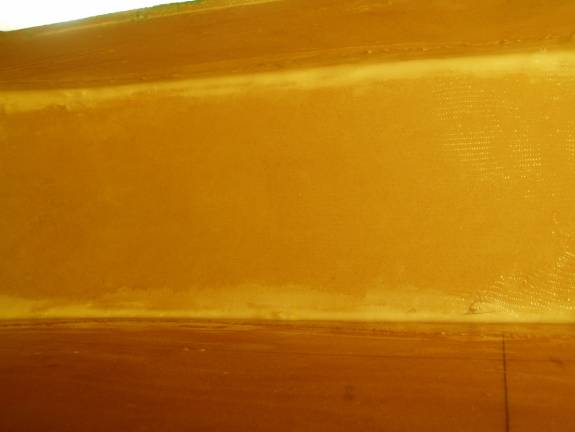
Micro around the edges of the top deck skin.
Use the thick micro to create a radius around the edges of the top forward deck skin on the inside as shown above. Let this cure. Usually we do not need to let our micro radis cure before we glass, but we want to make sure the top skin is held solidly in place, and the micro is the temporary adhesive until we glass the underside.
Cut three pieces of BID fiberglass to create a one layer BID layup on the bottom side of the front deck.
Slurry the foam and layup a one layer BID over the bottom side of the forward deck skin, overlapping about an inch and a half onto the firewall, firewall support bulkhead and the two fuselage sides. The BID should overhang the spruce longeron. This layup is easier if done in the three pieces of BID as one long piece is difficult to man handle in the awkward location.
Completed single layer BID on underside of forward deck
Once the layup is complete, rotate the fuselage inverted and let the resin cure. It is best to let the resin cure with the fuselage upside down like this so the resin does not run.
Once cured, flip the fuselage right side up and cut strips of BID three inches wide.
Fiberglass BID to seal edges of top deck skin
Layup one BID all around the edge of the front deck skin on the outside as shown in the above photo. The Bid should overlap onto the firewall, firewall support bulkhead and the fuselage sides by at least and inch and a half.
