Chapter 8 - Finish the Wing
Section 2 - Installing B Flap hinge and Flap Rodend Bbracket
The B rib Flap Hinge is afixed to the flap rib by 4 AN3 bolts, 2 of which also secure the flap rodend bracket. First use the drawing in the download section and fabricate a flap rodend bracket.
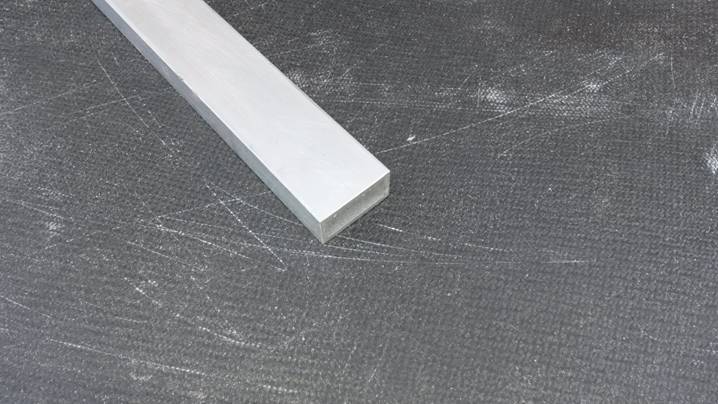
Stock to fabricate Flap Rodend Bracket
Completed Flap Rodend Bracket
Once the bracket is fabricated, mark the locaiton on the A rib and drill the holes to insure they line up with those in the B rib. The way I acheived this was to blindly drill the two holes in the A rib and move the hole around until they line up with the two mounting holes in the B rib. Then use the bracket, aligned with the two holes, to trace the outline on the A rib. This area will be removed as shown in the following photos.
Scetch Location of Bracket on A rib
Cut slot for Rodend Bracket
Cut slot for Rodend Bracket
Once the slot is cut into the A rib, test fit the bracket, notice from the photo below that the leading edge point had to be filed down to clear the reinforcing fiberglass at the spar.
Test Fit Bracket
The B rib hinge is secured to the rib first by the lower two bolts, An3-13A with the same washer arrangement as the other two hinges. See photo below for a view of the washers and nuts used.
Secure the B rib hinge using lower bolts first
then the rodend is assembled to the bracket and two AN3-14A bolts are slid into the two mounting holes as shown below. One of the holes has to be drilled at an angle to allow the bolt to be inserted.
Rodend Bracket ready for Installation
A flat bladed screwdriver is used to hold the bolt head still while the washer and nut are torqued into position on the hinge side.
Notice direction of the bolts
Bracket Test Fit
Installed B rib hinge and rodend bracket
That completes the installation of the hinges. Inspect one last time to insure the correct hinges are installed into the correct flap, that all the bolts are properly torqued. The last step is to reinstall the flap onto the wing and insure the hinges move smoothly and that they are still properly aligned. Once you foam you no longer have access to the hinges. You are now ready to comlpete the foaming and glassing of the flap top