Chapter 8 - Finish the Wing
Section 2 - Installing Hinges after Glassing Bottom
Once the bottom of the flap has been glassed we are ready to install the hinges and the horn bracket. Below is a before and after pair of photos showing the installation of the Flap hinges.
Flap with bottom glassed ready for hinges

Flap with Hinges Installed
Scrape free the foam from the three ribs that will have the hinges attached. Also scrape the foam free from the bottom carbon fiber surface where the rib will protrude. Remember when you harked each rib as to which side the hinge is installed, double check you are installing the hinge on the correct side. Also check that you are installing the left hinge on the left flap and visa versa.
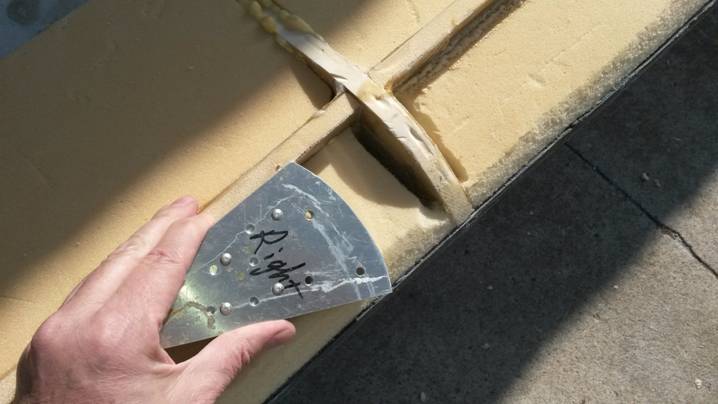
Clear foam from rib and skin
Double and triple check that you are drillinng on the correct side of the rib. Use a 3/8" drill and a file to cut the slot through the carbon fiber skin for each of the three hinges. Open up the hole slowly so as to not have to large a gap around the hinge.
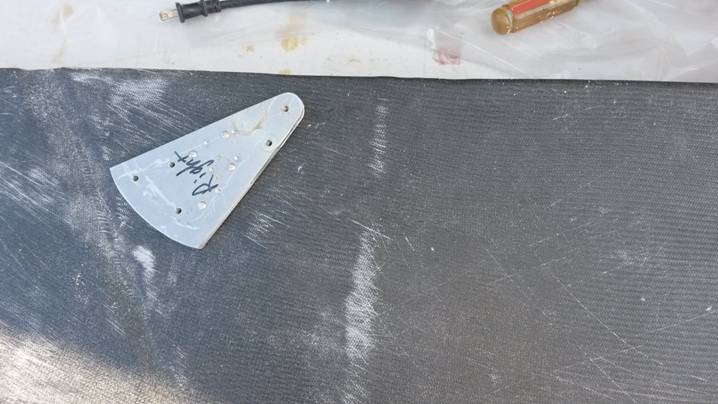
Ready to cut slot for hinge

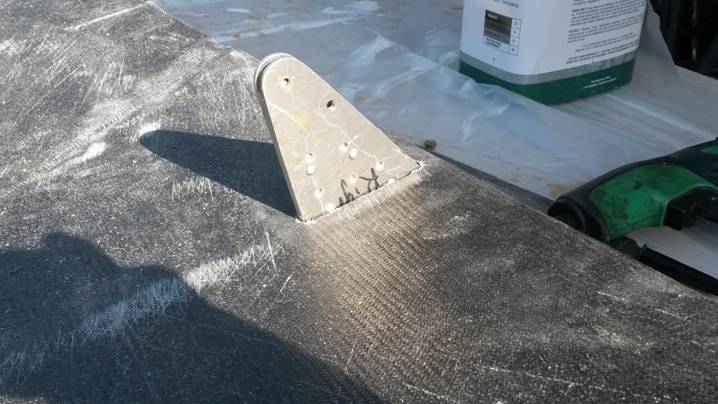
Slowly enlarge slot to accomodate hinge
You may have to trim the carbon fiber to clear the rivets as the hinge is installed.

Slowly enlarge slot to accomodate hinge
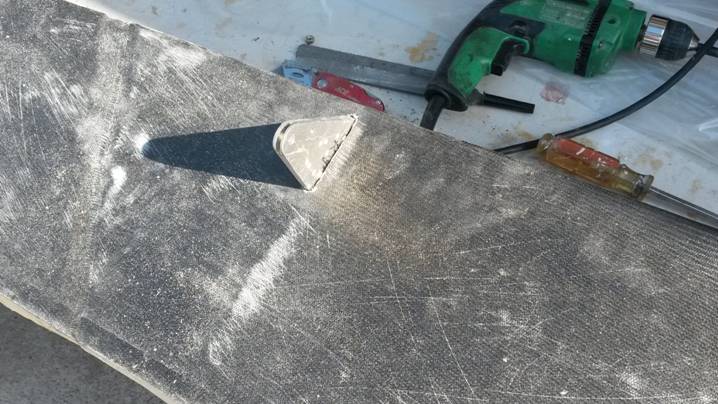
Completed Hinge Slot
Next, the middle and outboard hinges are bolted into place.
Notice one washer needed triming to fit flat
The middle flap hinge and outboard flap hinge are installed with AN3-13A bolts, washers and nuts. Use the AN970-3 washers on the rib side and AN960-3 whashers on the flap side. Access may need to be cut into the outboard most rib to tighten the bolts.
Access Holes to secure flap hinge
Done
The B hinge requires a bit moe work to install as it is allso attached to the flap rodend bracket. See the next Page.