Chapter 8 - Finish the Wing
Section 2 - Flap Hinges
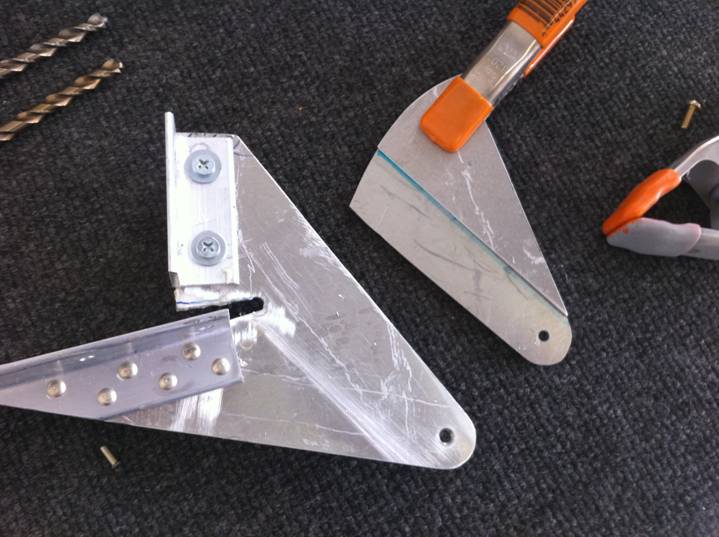
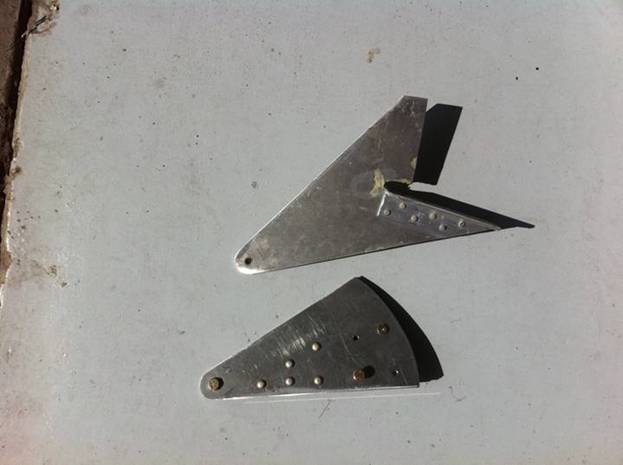
Fabricate tthe flap hinges using the templates in the download section. Three thicknesses of aluminum are used in fabricating the Flap hinges - 1/32", 1/8" and .090". Each Flap hinge has a NAS75-3-004 bushing installed for the hinge bolt. The hinge names indicate which flap rib they are attached to - hinge B, hinge D and Hinge F. The hinges on the wing are single piece of 1/8" aluminum attached with angle brackets, these should already have been fabicated and attached to the wing. The flap hinges consist of two side plates and two spacers. One of the spacers is 1/8" and one spacer is 1/32" (alternatively one could use a single 5/32" thick spacer, but I could not find this material thickness). The idea is to rivet the two spacers between two side plates. See the photo below of a finished hinge and note the two spacers.
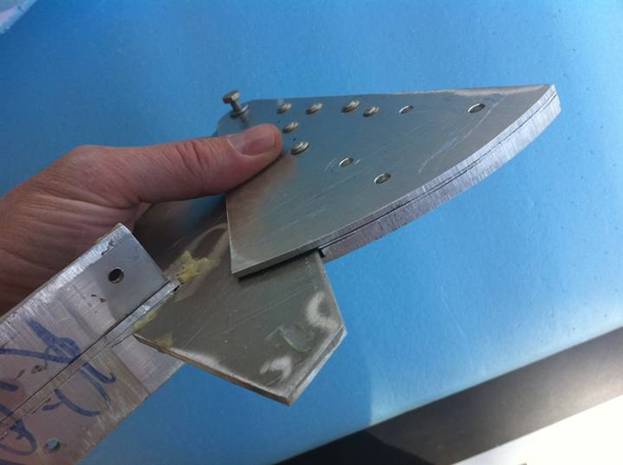
Finished Hinge B Flap Hinge
The recommended order for cutting out the flap hinges is as follows: Cut out the paper patterns and decide how you are going to cut the plates from rough stock. Rough cut the side plates, drill the 1/4 hole for the NAS busing. Use care when drilling this hole, if it is sloppy the NAS bushing will not fit properly. Then glue the template to the side plate rough stock aligning the hole in th epattern to the hole in the side plate. Now, using a bench mounted belt sander shape one side plate to size. Use a 1/4" bolt to align the second side plate and belt sand it to match the first. You now have two side plates ready to have the NAS bushing installed.
The NAS75-3-004 bushings are press fit, then locked into place by using a fine tip punch to deform the aluminum as shown below. Care must be taken not to flatten the bushing pressing it in. At this point you should have two matching side plates as below:
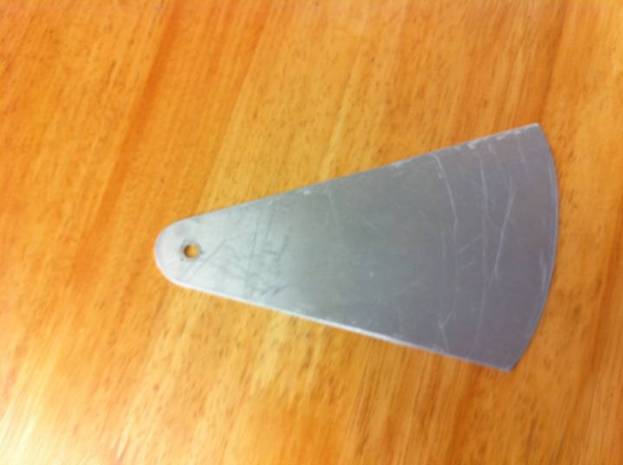
Flap Hinge Side Plate with bushing installed
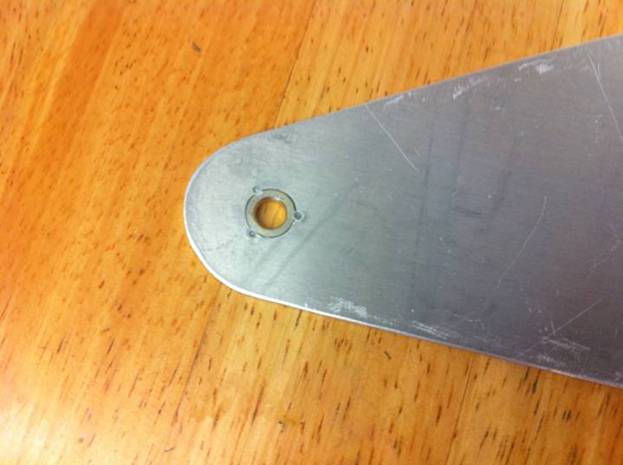
Flap Hinge Side Plate closeup of bushing
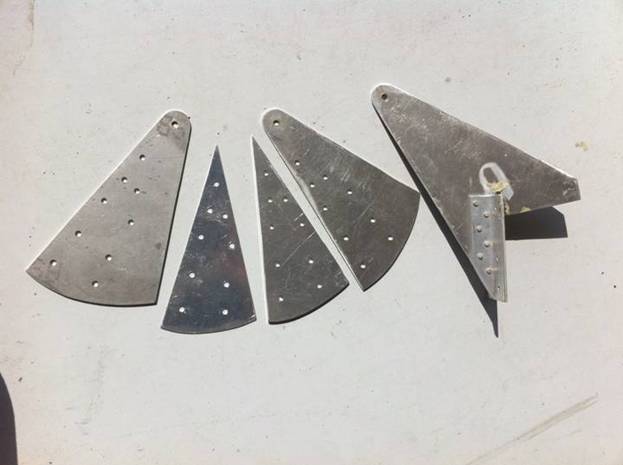
The next step is to cut out the spacers, the matching thick and thin spacers can be sanded to size at the same time to insure they match. At this point mark all of the hinge parts as to the rib they are associated with, and more importantly, right and left. We will want to insure we do not mix the hinges up and put a hinge assembled to the left wing on the right wing.
Once the spacers are cut out, prepare to drill the rivet holes. This is done clamping one hinge side plate to the wing hinge, then clamping the 1/8" spacer into place using the hinge bolt hole for alignment. See the photos below:
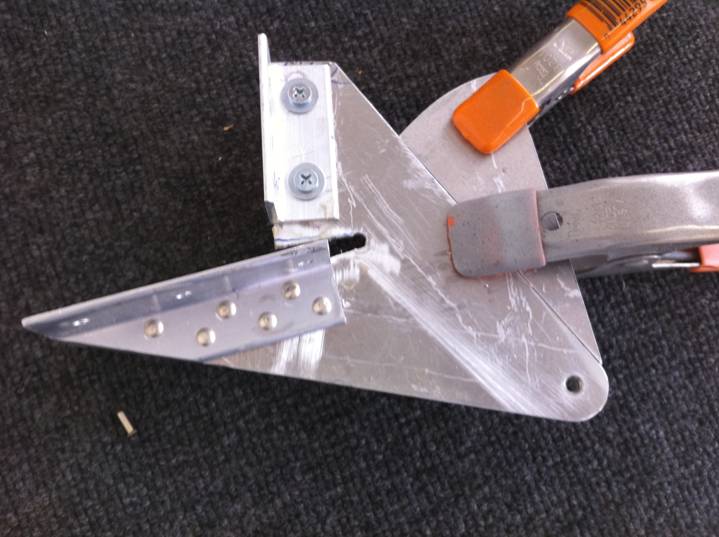
Clamp one side plate and the 1/8" spacer to the wing hinge
Space Clamped to Side Plate
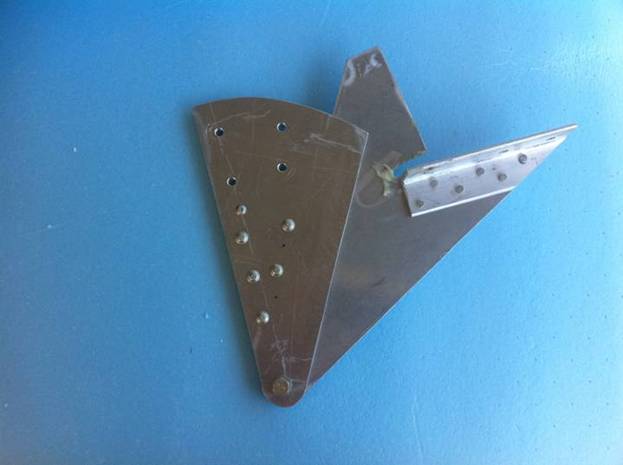
The next step is to drill 5 number 30 rivet holes through the spacer and side plate. then match drill the same holes through the matching side plate and thin spacer. Finally rivet the Side plates together with the spacers inbetween. Be sure to test fit the whole assembly to the wing rib to make sure you have the hinge on the proper side and everything looks correct. I had to drill out rivets and redrill several of my hinges before I got all of them correct. Below isthe B flap hinge ready to be riveted.
Flap B hinge ready for riveting
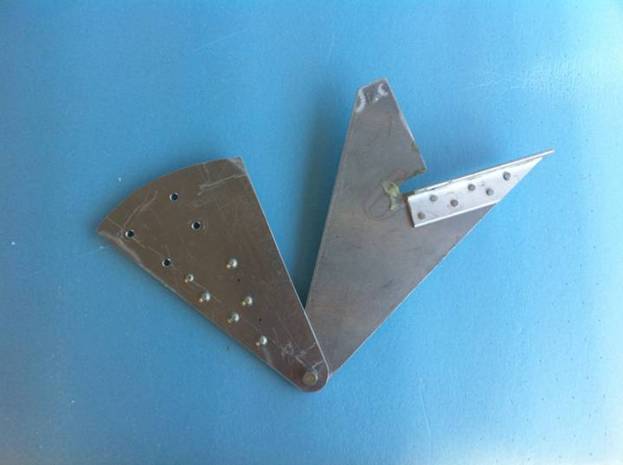
The next step is to drill the three (or four in the case of the B hinge) 3/16" holes for the AN3 bolts used to attach the hinge to the flap ribs. Use the template to locate this holes. Again, be sure to mark each hinge as to right or left.
Completed B Flap Hinge
Completed B Flap Hinge
Completed B Flap Hinge