Chapter 5 - Gull Wing Canopy
Section 2 - Gull Wing Canopy Inside Glass Skin
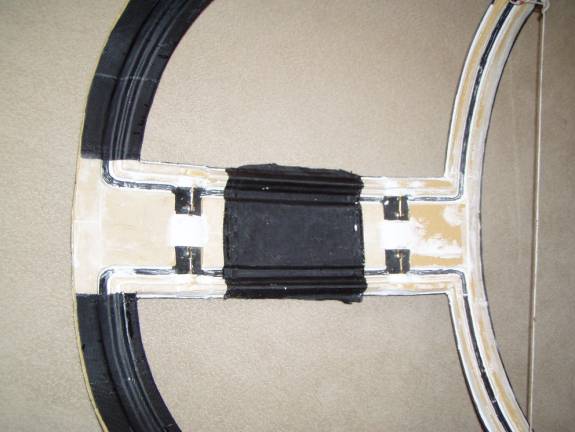
Finished Inner Skin
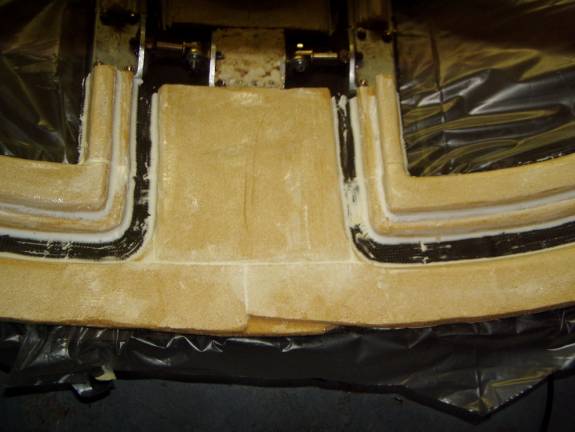
Before we move on lets review from the last section and insure that our foam is prepared properly. . The following photos show the foam prepped and ready for the inner skin. Review from the last section, the foam must:
- The edges have a slight tapered to them, no vertical surfaces
- The outside corners have been sanded to have about a 1/8” radius – no sharp corners
- All of the inside corners have been filled in with micro, again 1/8” radius – no sharp corners
- The outside skin is cleaned and free of micro for the inside skin to bond to.
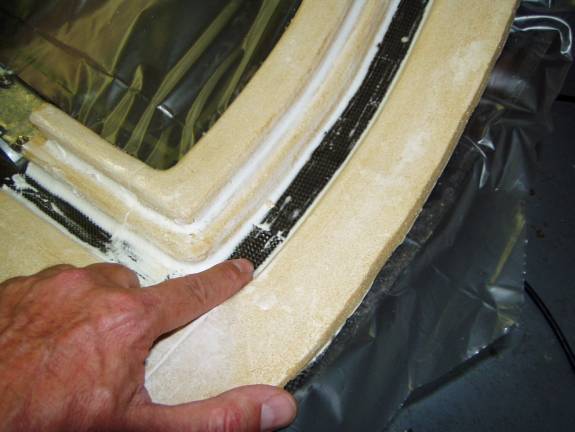
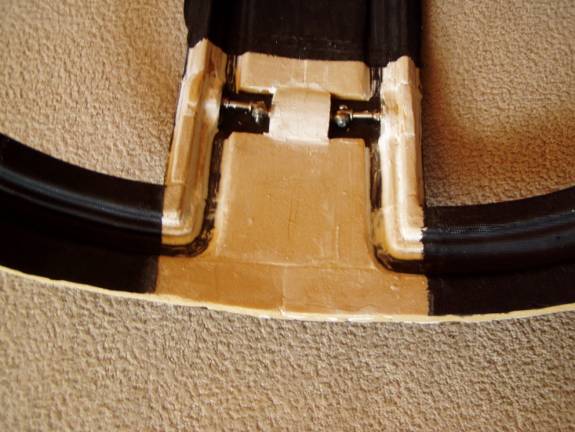
Micro in the corners form a nice radius
Exposed outer skin for inner skin to bond to
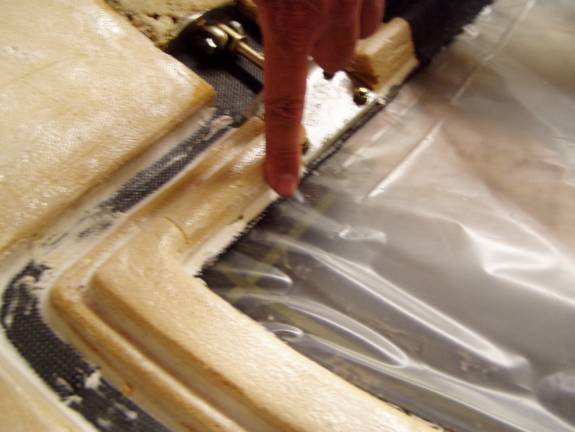
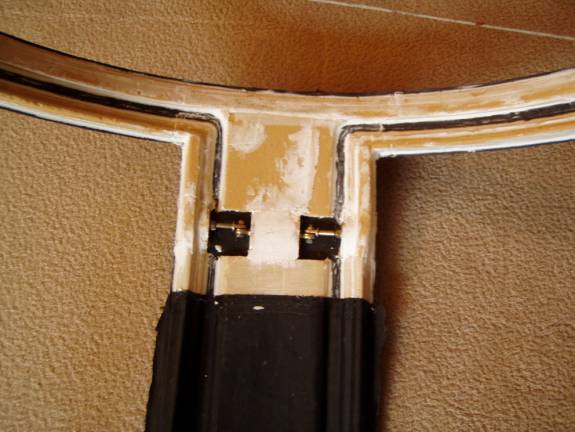
Preping for inner skin
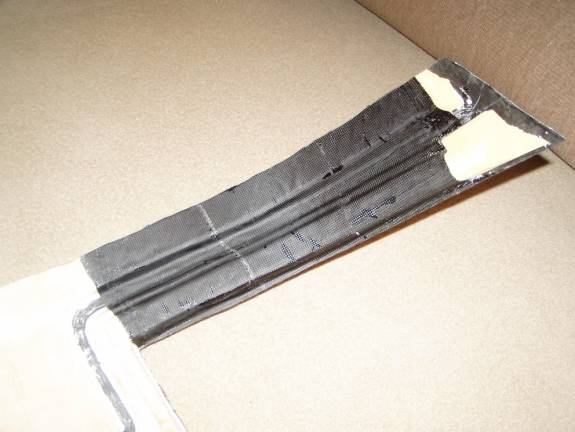
If you are going to use vacuum bagging to apply the inner skin (I did not) you need to apply the inner skin in small, manageable sections and use the technique shown above to seal the ends. Masking tape is applied on the boundary of the area of the layup and this is used as a vacuum seal surface.
Nice radius all around the corner of the canopy door
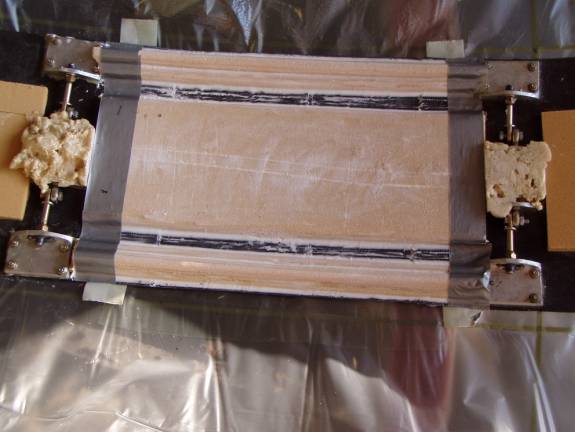
The inner skin is 3 layer of Carbon Fiber BID. It
is best to glass the inside of the canopy in manageable sections
that are overlapped. Use peel ply as the top layer (be sure
to remove after cure, of course) to insure each layer makes a good
bond to the previous one.
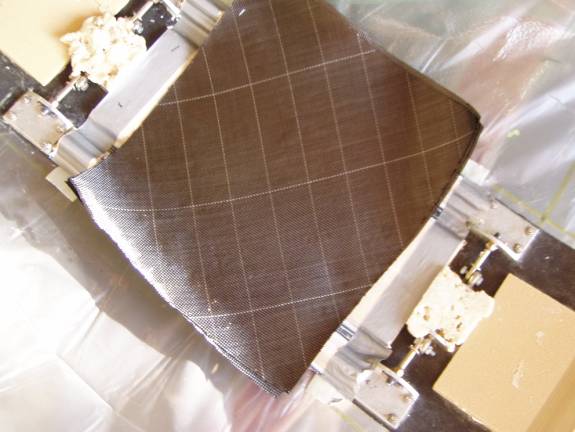
3 layer carbon fiber inner skin
Cut the carbon fiber for the center roof section, the front and rear bows. If you have prepped the foam well, the carbon fiber lays down well.
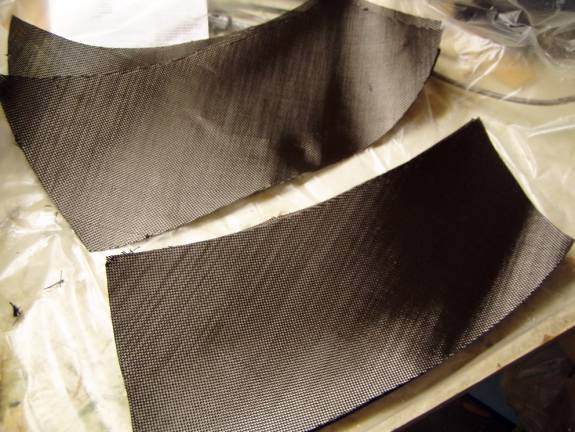
Carbon fiber for bows inner skin
Rear bow inner skin
Roof section and rear bow covered
Rear roof section/rear bow interface ready for inner skin
Front bow ready for inner skin

Completed inner skin.
