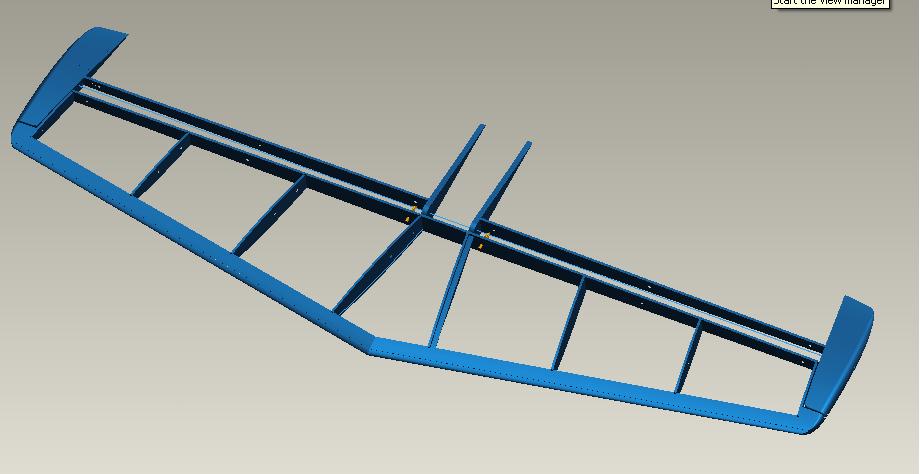
Horizontal Stabilizer Assembly
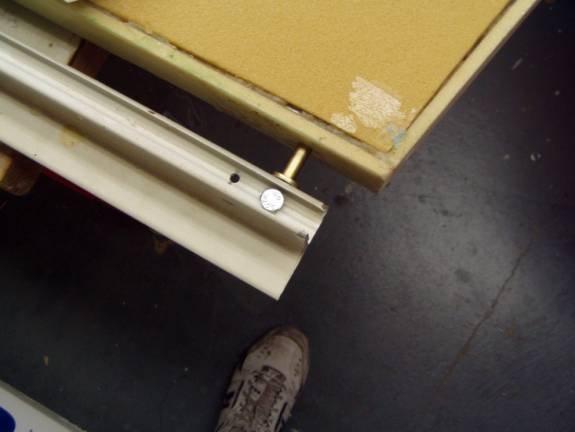
Here you can see a technique that I ended up using to ensure the horizontal stab rear spar was true. I screwed an aluminum angle to all of the hinge points ensuring that the stab was true in both of the planes containing the hinge line axis. This was left in place until both sides are glassed.
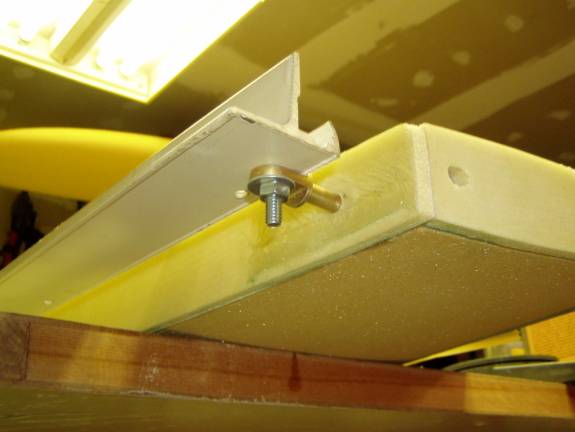
Sand both sides with a long sanding bar. As mentioned earlier, I used a aluminum box tube longer than half the span of the horizontal stab with sandpaper glued to it.
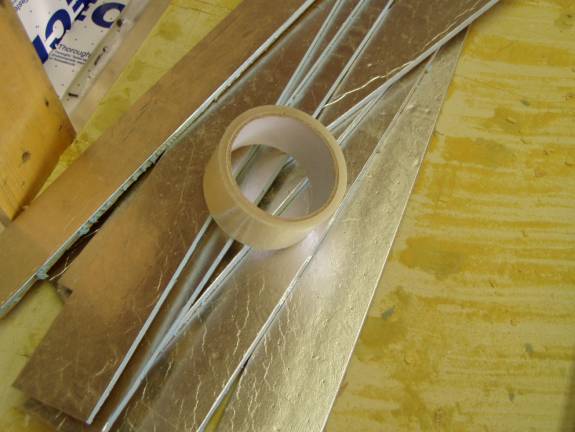
Once you are happy with the shape of the horizontal stab it is time to
make the rear flanges that will enclose the elevator hinges. Cut strips
of foam about 3 inches wide and cover one side with packing tape.
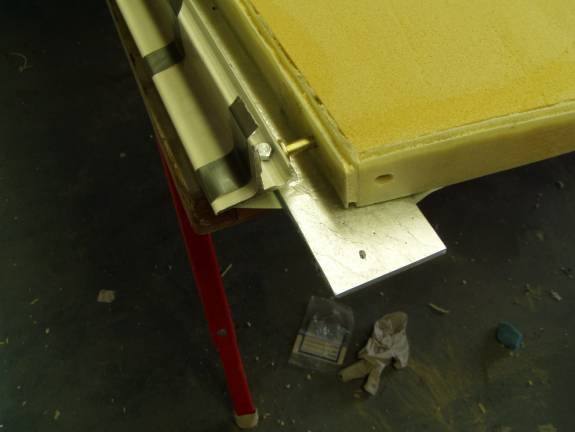
Attach these to one side and secure to the horizontal with tape, hot
glue or CA. Insure the that flanging strips are flat against the
horizopnal stab as they will act as an extension of the horizontal stab
to cover the hinge gap. Allow for about an inch over hang.
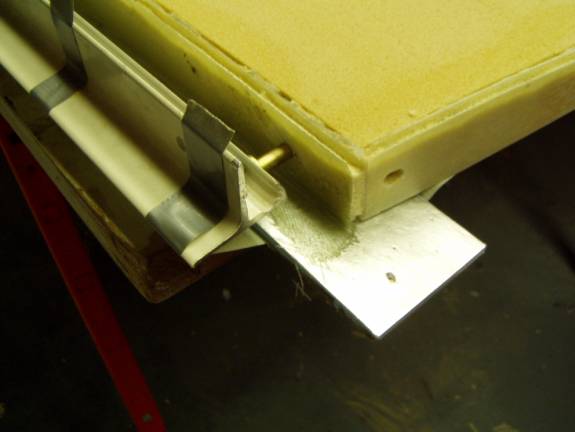
Layup a 2 BID flange using glass cut on the 45 degree bias. The angle used to hold the stab true is a bit of a pain to work around, but will guarantee the horizontal stab does not warp.
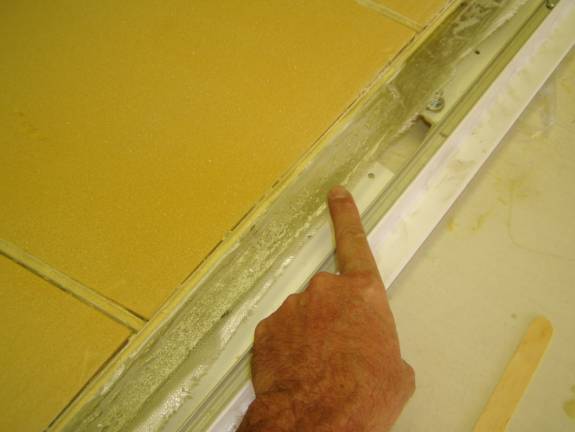
The completed flange on the trailing edge.
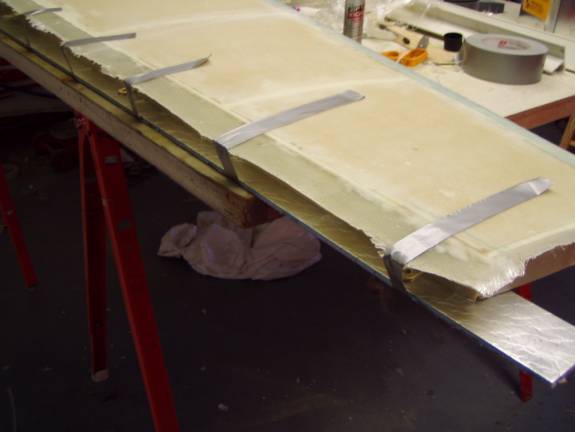
Now flip the horizontal stab over and create a trailing edge flange on the other side. These will be trimmed to 1.125" measured from the rear edge of the spar later.
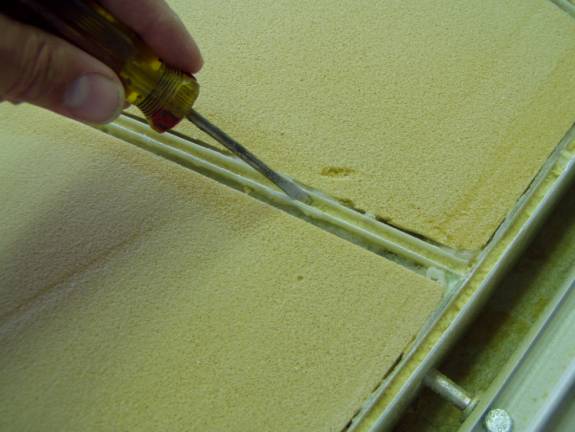
Using a screwdriver to scrape out the foam from the edges of the ribs, leading edge and trailing edge. This works well and allows you to control the depth. Remove the foam to just below the inside flanges. Vacuum out the debris well.
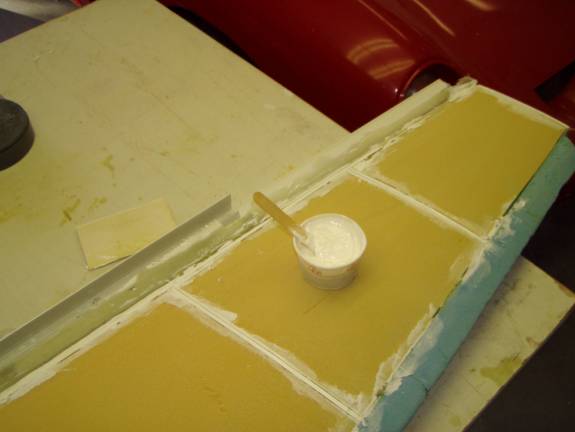
Use a thick glass bubble and epoxy mixture to fill the gaps in the edge of the ribs, spar and leading edge. Also be sure to fill any gaps between the ribs and the skin panels.
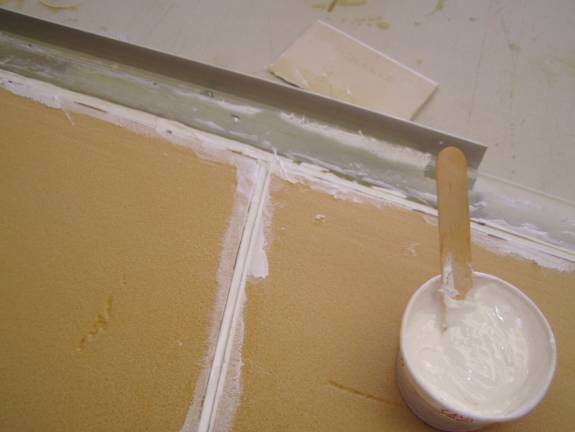
Fill all gaps, but be sure to clean any of this mixture off the trailing
edge flange with acetone.
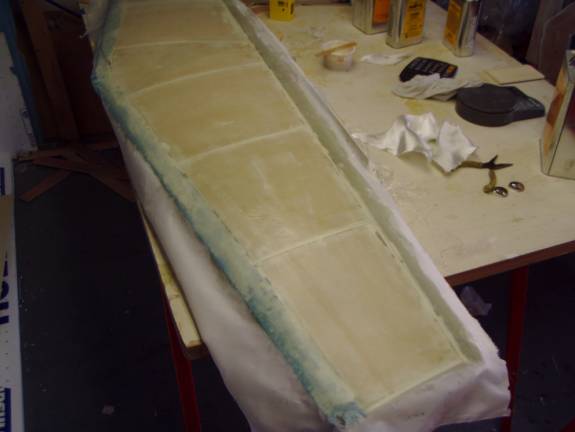
Completely vacuum the surface of the foam in preparation for slurry. Slurry and then apply a layer of UNI glass with the grain of the glass running spanwise. Then layup a layer of BID on the 45 degree bias. Finally cover the layup with peel ply and work the resin through the fabric.
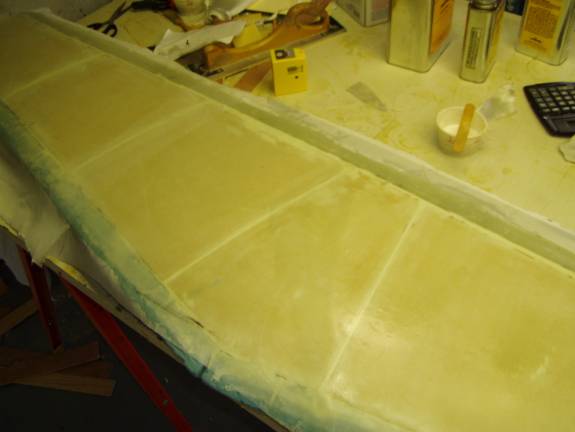
When the resin has cured, glass the other side in the same manner.
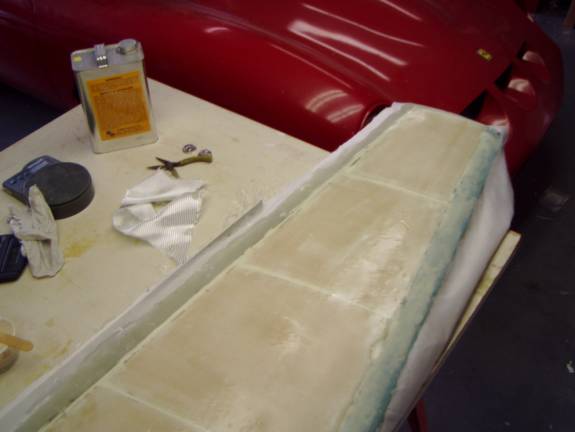
This completes the sheeting of the horizontal stab.
